
Start with your recent energy bills and a normal, well-lit walk through accessible rooms. Note a draft, blocked register, or device worth measuring without opening equipment or disturbing materials. DOE’s do-it-yourself assessment is a starting point; it cannot measure hidden leakage, establish combustion safety, or promise a particular saving.
This checklist is about understanding your consumption and bills. If your goal is instead to size a battery or generator, use the home backup power calculator — that worksheet answers a different question. Here we are looking for waste to eliminate, not loads to power.
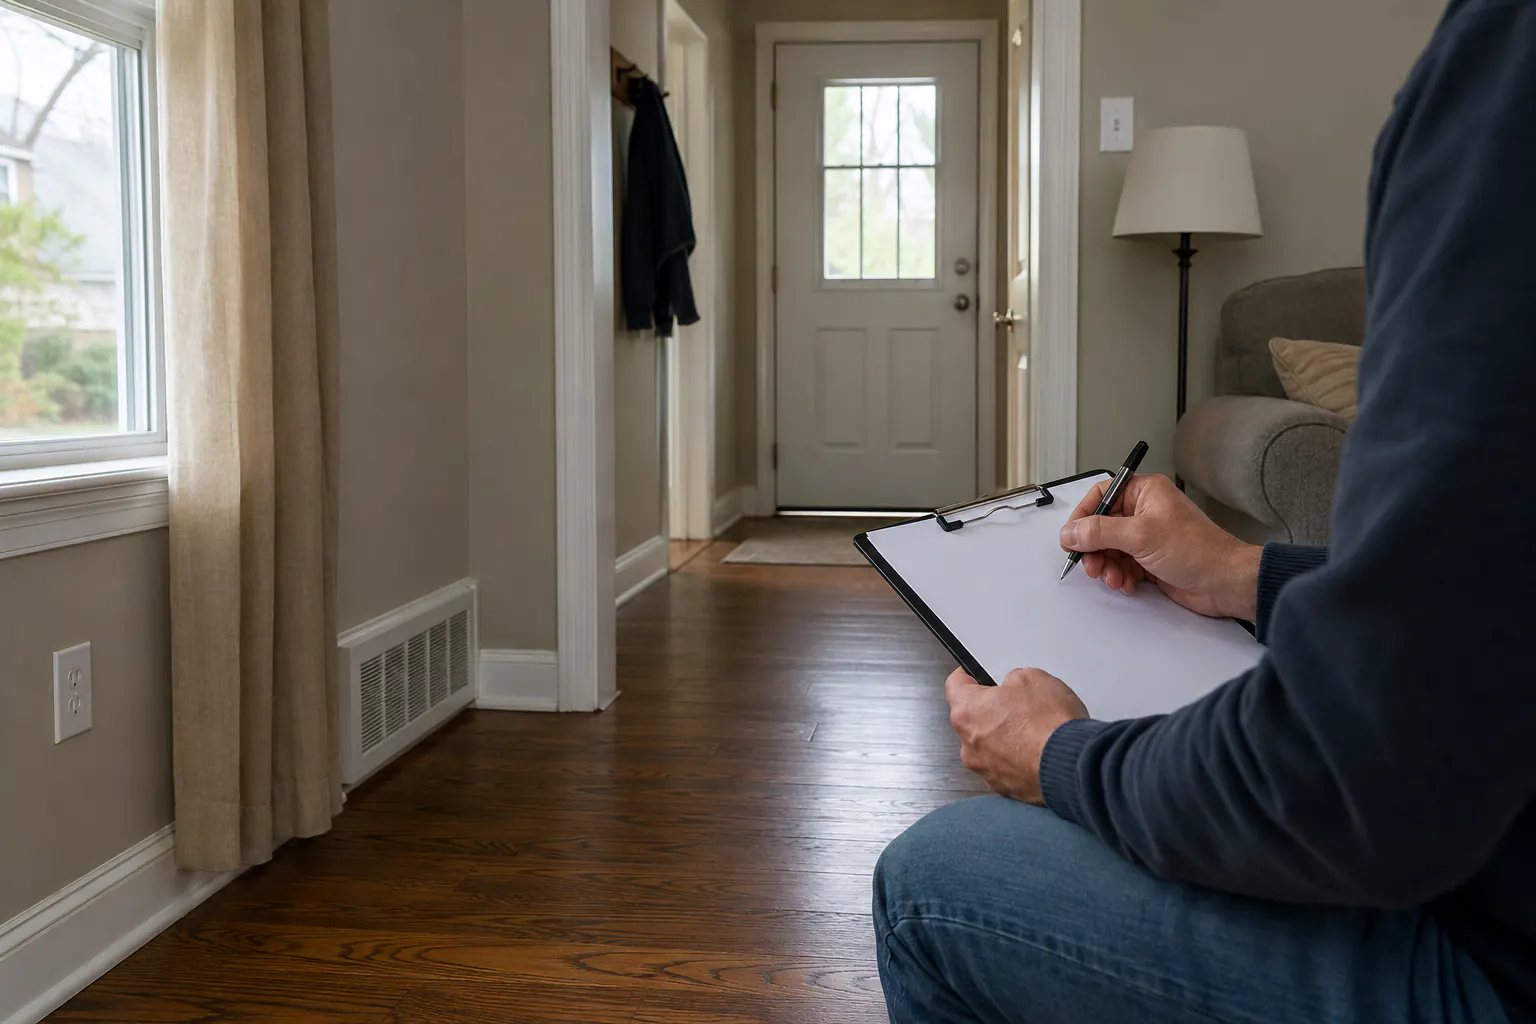
Before you start
Gather two things:
- Twelve months of energy bills. Utilities usually let you download usage history. Look for your highest-use months; they tell you whether heating, cooling, or something year-round is driving cost.
- A simple record sheet. A notebook or phone note works. For each problem you find, write the location, the issue, and a rough sense of how easy it is to fix. That record becomes your priority list.
DOE notes that upgrades identified in a home energy assessment can save 5% to 30% on energy bills. (Source: U.S. Department of Energy, Energy Audits.) The audit is what tells you which of those upgrades applies to your home.
Section 1: Find air leaks
Air leakage is usually the cheapest thing to fix and one of the most rewarding. Reducing drafts can save 5% to 30% per year, and the home feels more comfortable afterward. (Source: U.S. Department of Energy, Detecting Air Leaks.)
Walk the usual suspects:
- Baseboards and the edges of flooring
- Junctions of walls and ceilings
- Window and door frames
- Electrical outlets and light switches on exterior walls
- Where pipes, wires, and ducts pass through walls, floors, or ceilings
- Attic hatches, mail slots, and around window-mounted air conditioners
- Foundation seals and where siding meets the foundation
- Exterior caulking and weatherstripping condition
Two DIY detection methods:
- Visual and touch. On a windy day, run a wet or bare hand near suspected leaks; moving air is easy to feel. Look for daylight around door and window frames.
- Leave smoke and pressure tests to the professional assessment. Do not burn incense, shut down combustion equipment, or depressurize the home for this walk-through. Ordinary visible observations are enough to make a question list.
Write each leak down. You will prioritize them in the weatherization priorities guide, then seal them using the room-by-room draft audit.
Section 2: Check insulation
Insulation is invisible until you look, and many homes are under-insulated relative to current recommendations.
- Attic. Use existing records or ask a qualified assessor. Do not enter an attic, climb, walk on joists, or disturb insulation to complete this list.
- Accessible walls. You usually cannot see inside finished walls without a professional, but an exterior wall that feels much colder or warmer than an interior wall is a hint.
- Basement, crawl space, and floors over unconditioned areas. Check for insulation on rim joists and under floors above unheated spaces.
- Ducts in unconditioned space. Ducts running through an attic, crawl space, or garage lose energy if unsealed and uninsulated.
Do not disturb insulation in older homes if there is any chance of asbestos or knob-and-tube wiring. That is a stop-and-call-a-professional situation, not a DIY one.
Section 3: Inspect heating and cooling
Heating and cooling are the largest energy end uses in a typical home — about 52% of annual consumption for space heating and air conditioning combined. (Source: U.S. Energy Information Administration, Use of energy in homes.) Small improvements here outweigh almost everything else.
- Filters. A clogged filter makes the system work harder. Check it; note the replacement schedule.
- Thermostat. Are setpoints reasonable, and is there a programmable or smart thermostat managing setbacks when you sleep or leave?
- Equipment age and service. Note the age of the furnace, heat pump, or AC and whether it has had recent professional service.
- Registers and returns. Are any blocked by furniture or rugs? Blocked airflow wastes energy.
Section 4: Review lighting
Lighting is a smaller slice than heating and cooling but easy to improve.
- Count remaining incandescent or halogen bulbs, especially in fixtures used many hours a day.
- Note where LED replacements would pay back fastest (kitchens, living rooms, exterior lights left on overnight).
- Check for lights left on in unoccupied rooms — a behavior fix, not a purchase.
Section 5: Audit appliances and electronics
This is where standby waste hides. In a typical home, appliances and electronics beyond the big systems make up roughly 23% of energy use. (Source: U.S. Energy Information Administration, Use of energy in homes.)
- Refrigerator. Age, door-seal condition (close it on a dollar bill; if it slides out easily, the seal is weak), and whether the coils are dusty.
- Water heater. Temperature setting and whether the tank and first few feet of pipe are insulated.
- Entertainment and office clusters. TVs, consoles, cable boxes, chargers, and computers that draw standby power around the clock.
- Old, heavy-use devices. A second refrigerator in the garage is a classic hidden cost.
For any device you suspect, do not guess — measure it. The plug-in watt meter guide shows how to turn suspicion into kilowatt-hours, and the standby power guide helps you cut the always-on drain.
Turn the checklist into a plan
An audit that ends in a pile of notes changes nothing. Convert it:
- List every finding with its location and a rough fix difficulty (free / cheap / project / professional).
- Match findings to bills. If cooling drives your summer peak, prioritize attic insulation, air sealing, and thermostat behavior over anything else.
- Rank by payback, then work the list. The weatherization priorities guide does this ranking for you.
- Consider a professional assessment for anything you could not inspect — hidden leaks, wall insulation, duct leakage, and combustion safety. Many utilities offer subsidized assessments.
A shorter walk-through
If the full checklist feels like a lot, follow this order and you will cover the high-value ground in about an hour:
- Pull one year of bills (10 minutes). Identify your highest-use months and whether heating, cooling, or a year-round load drives cost. This aims everything that follows.
- Walk the envelope for leaks (20 minutes). Hands and eyes at baseboards, windows, doors, outlets on exterior walls, and penetrations. Note each leak; do not fix anything yet.
- List insulation questions. Use accessible observations and records; leave attic entry, hidden ducts, and material identification to qualified help.
- Check the big equipment (10 minutes). HVAC filter, thermostat schedule, and blocked registers. Note the water-heater temperature and whether the tank is insulated.
- Scan for standby and old appliances (10 minutes). Entertainment and office clusters, and any second refrigerator or heavy old device.
That route captures most of the savings a walk-through can find. The detailed sections above are for when you want to go deeper on any one finding.
Match findings to the right guide
An audit is a triage step. Each type of finding has a home elsewhere in this cluster:
| What you found | Where to act |
|---|---|
| Air leaks and drafts | Weatherization priorities, then room-by-room draft audit |
| Standby / phantom draw | Phantom loads and standby power |
| A suspect appliance | Use a plug-in watt meter |
| Overloaded-circuit warning signs | Signs of an overloaded circuit |
| A finding you cannot inspect | Professional energy assessment |
When to bring in a professional
A DIY walk-through has real limits. Call a qualified energy auditor when you want a blower-door measurement of total leakage, an infrared scan of hidden gaps, a combustion-safety test after air sealing, or advice on insulating a home that may contain hazardous materials. The DIY audit tells you whether the professional visit is worth it, and it makes that visit more productive.
Before booking, use the professional home energy assessment questions to compare the written scope, safe-access limits, and what the report will actually cover. A walk-through cannot rule out hidden hazards or replace a needed qualified assessment.
Once you know where your energy goes, return to the home energy efficiency hub to sequence the fixes and reuse them as outage resilience.
Sources reviewed
- U.S. Department of Energy, Energy Saver: Do-It-Yourself Home Energy Assessments; Detecting Air Leaks; Energy Audits
- U.S. Energy Information Administration: Use of energy in homes
Sources reviewed July 14, 2026.