
Find a current map for one familiar, permitted practice area and check its date, legend, scale, and north reference. Learn the map and exact compass instructions before adding distance. Neither a paper map nor a phone can grant access or tell you that a route is safe now.
Learn the mechanics in a familiar place where a mistake costs a few minutes, not an unplanned night outside. The objective of this guide is to orient a current map, relate it to visible features, follow and reverse a short practice leg, and describe uncertainty honestly.
Start with the route owner
Navigation answers “Where am I in relation to mapped features?” It does not answer “Should I travel there now?”
For a planned outing, the land manager, trail authority, owner, current map, closures, weather, and posted rules control. For a live emergency, official orders, emergency management, transportation authorities, and responders control. The realistic get-home plan owns household route alternatives, while the evacuation-planning hub owns leave-or-stay and destination preparation.
Never use a compass lesson to justify entering floodwater, smoke, fire, a closed road, unstable ground, private property, a security incident, or an area authorities say to avoid.
Build a small navigation kit
Use a kit you can inspect and explain:
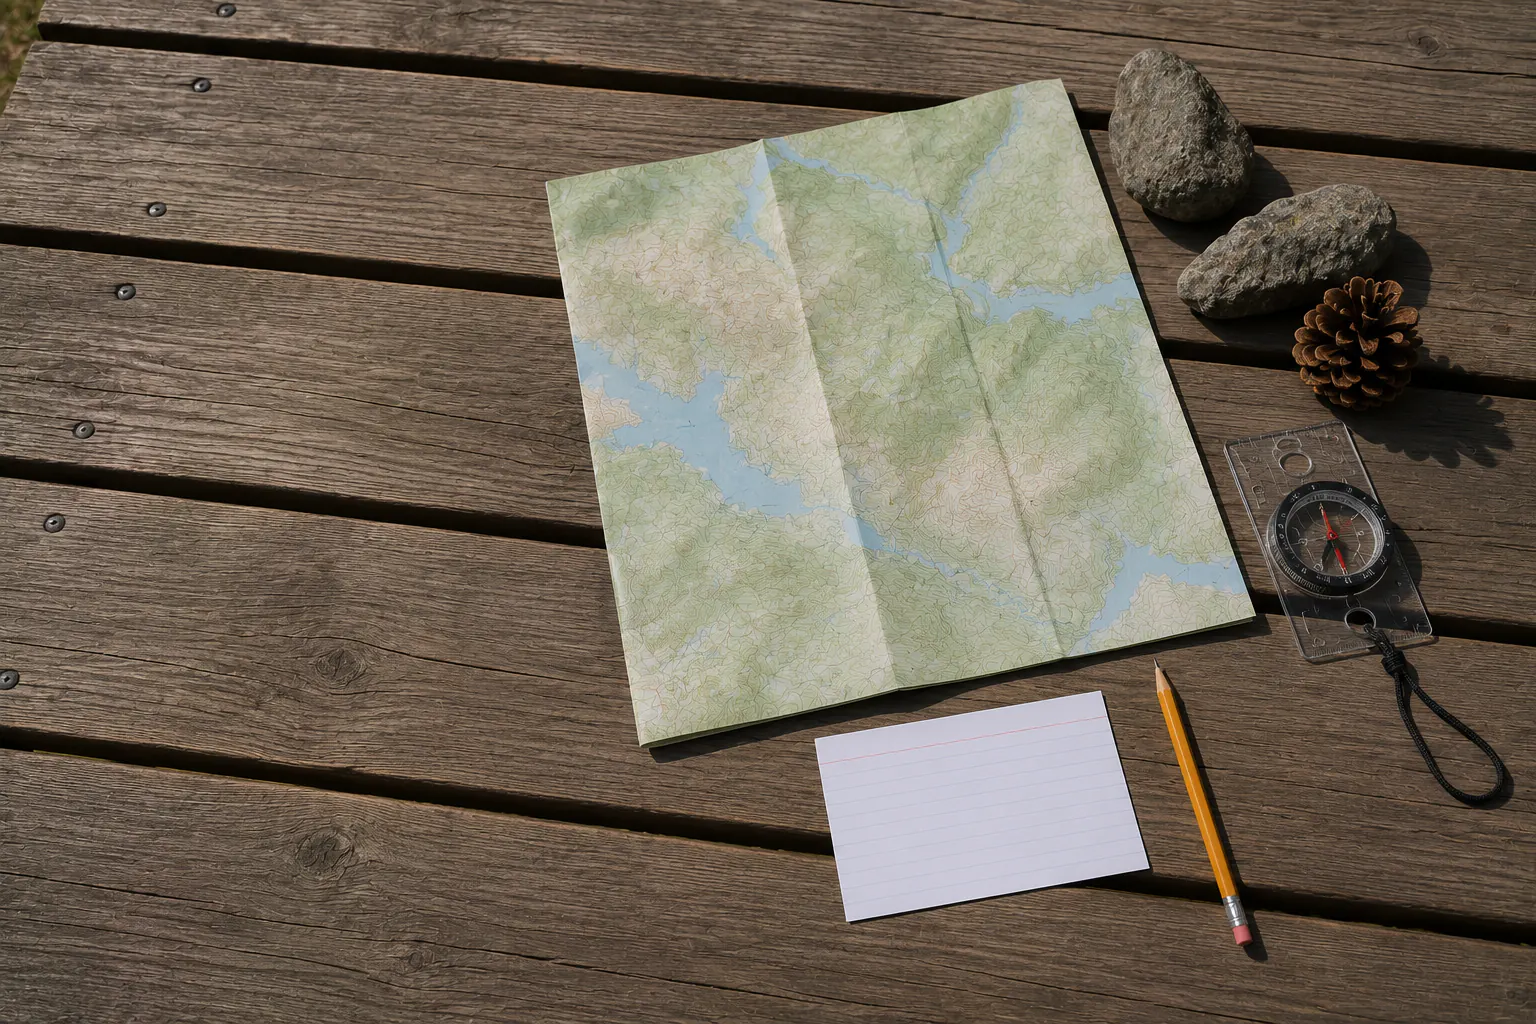
- a current physical map that covers the complete practice area and a margin beyond it;
- a simple baseplate compass whose needle moves freely and whose instructions are available;
- a pencil and weather-protected route card;
- a watch or other simple time reference;
- a light and household communication method;
- a phone or GPS with an offline map as a separate backup, not the only record;
- the clothing, water, medication, accessibility, and first-aid support appropriate to the ordinary outing.
Store the map flat or loosely rolled rather than unreadably folded into a tiny square. Mark its publication or download date. A printed screenshot without a legend, scale, north reference, source, date, or surrounding context is a picture, not a dependable map.
Keep the map with the household’s protected offline information set. The offline emergency information plan owns the wider physical and offline document system; preserve the map source, date, area, and update owner directly on the route card.
Read the map before touching the compass
USGS topographic maps represent both natural and built features and use contour lines to describe land shape. Before a practice, locate:
- Coverage. Confirm the exact place is inside the map, with enough surrounding area to recognize a wrong turn.
- Scale. Read the printed scale rather than estimating distance from the page size. Different maps compress distance differently.
- Legend. Identify how this edition depicts roads, paths, buildings, water, boundaries, vegetation, and elevation.
- Contour interval. Note the elevation difference between adjacent contour lines. Closely spaced lines generally indicate a steeper slope than widely spaced lines.
- Date and edition. Roads, trails, bridges, boundaries, buildings, and names change. Record what must be checked through the current authority.
- North diagram. USGS explains that true north, grid north, and magnetic north are different references. Read the exact diagram on the exact map.
Do not assume an old printed declination value remains correct. Follow the current USGS information and the exact compass instructions, or practice with a qualified instructor. A few degrees can matter over distance, and a confident wrong correction is worse than a clearly recorded unknown.
Learn the compass as four parts
Most beginner baseplate compasses expose four useful elements:
- the magnetic needle, with a marked north-seeking end;
- the rotating housing or bezel;
- the orienting arrow and parallel lines inside that housing;
- the direction-of-travel arrow along the baseplate.
Keep the compass level and away from objects that can disturb the needle, including vehicles, steel tables, speakers, magnets, some phones, large tools, and electrical equipment. Compare behavior in more than one position. If the needle sticks, bubbles appear, the housing is damaged, or readings change inexplicably, stop and inspect or replace the compass.
A compass points relative to Earth’s magnetic field. It does not point toward a trail, destination, safe shelter, or “the way home.” Those relationships come from a correctly used map, current plan, and confirmed location.
Practice orienting the map
Choose a familiar open area with a clear substantial-building fallback, benign weather, permission, daylight, and no traffic crossing. Identify two or three durable visible features already shown on the map, such as a road intersection, large building, bridge, trail junction, shoreline shape, or prominent hill.
Then use the method provided for your map and compass to align map north with the correct north reference. Rotate the map and compass together; do not merely turn your body while the map remains arbitrary. When aligned, mapped features should appear in the same relative directions as the real features around you.
Confirm with more than one feature. A single straight road may look convincing in either direction. An intersection plus a building and terrain shape provides a stronger check. If the features disagree, do not force the map to fit your preferred answer. Recheck coverage, orientation, landmark identity, magnetic interference, and declination handling.
Practice this from several known positions. The goal is not speed. It is a repeatable sequence that reveals when the answer is uncertain.
Walk one short bearing in a controlled area
Once map orientation is reliable, choose a visible destination within the safe practice area, such as a specific park sign or tree beside a maintained path. Keep the entire leg short and unobstructed.
Use the exact compass instructions to place the baseplate along the intended direction, set the housing to the map reference, hold the compass level, and align the needle with the orienting marks. Look along the direction-of-travel arrow and select a nearby intermediate feature on that line. Walk to that feature while watching the ground and surroundings, then repeat.
Do not walk while staring at the compass. That creates trip, traffic, water, cliff, and separation hazards. Never practice across a street, drainage channel, steep slope, dense vegetation, private boundary, or anywhere a straight line conflicts with the approved path.
At the destination, turn around and practice the approved reverse or back-bearing method from the compass instructions. Compare the return with the physical path and map. Record any discrepancy rather than editing the memory of the exercise.
Use landmarks as checks, not commands
Landmarks help relate the map to the world, but they can be misidentified, obscured, temporary, or duplicated. A water tower, church steeple, road bend, isolated tree, ridge, or bright building may look unique until another appears.
Prefer durable, mapped combinations. Ask:
- Is this feature shown in the correct direction?
- Does its distance fit the map scale?
- Do nearby features have the expected relationship?
- Has weather, vegetation, construction, darkness, or smoke changed visibility?
- Could this be a similar feature somewhere else?
Never build a route around cairns, ribbons, paint, or improvised signs whose owner and purpose are unknown. Follow official trails and current land-manager information.
Create a route card another person can read
A good route card is short and operational:
| Field | Record |
|---|---|
| Practice area | Exact named area and responsible authority |
| Date and time window | Departure, planned return, and contact trigger |
| Participants | Names, relevant mobility/support needs, and lead adult |
| Intended route | Official paths, known junctions, distance, and turnaround time |
| Conditions | Forecast, alerts, closures, daylight, and surface conditions checked |
| Communication | Primary and backup method plus trusted outside contact |
| Stop points | Weather, time, fatigue, separation, uncertainty, closure, or equipment trigger |
| Plan B | Shorter approved route or cancellation |
Leave the trip plan with someone who is not on the outing, as NPS recommends. The family communication plan owns contacts and check-in timing. The local alert guide owns redundant current warning channels.
Practice when electronics still work
Use the phone or GPS to audit the paper exercise after completing it, not to hide every uncertainty during it. Compare:
- map orientation;
- start and finish location;
- actual path versus intended line;
- elapsed time and distance;
- any magnetic interference;
- the point where confidence dropped;
- whether the paper map covered the full deviation.
Downloaded maps can expire or omit live closures, and GPS position can be inaccurate. A battery bank helps only if the device, cable, port, software, map, and account access all work. Keep physical and electronic systems independently usable.
Include children and different abilities without transferring responsibility
An adult retains responsibility for route, weather, traffic, water, and stop decisions. A child can match a visible building to the map, hold the route card, or call out a junction. A person with low vision may need a larger-print map, high contrast, tactile markers, or verbal orientation. A person with limited dexterity may need a larger compass or a stable map surface. A mobility device changes surface, slope, distance, turnaround, and evacuation planning.
Choose the route for the actual group, not for the strongest participant. Practice the communication and turnaround before adding distance.
Respond to uncertainty by reducing movement
If the group cannot confirm its location in a practice area, stop before the uncertainty grows. Move away from immediate traffic, water, fire, or falling hazards only as necessary. Account for every person, protect temperature and medical needs, use the communication plan, and contact the responsible ranger, authority, trusted contact, or 911 as the situation requires.
Do not split the group, chase a guessed landmark, descend an unknown drainage, or turn a controlled lesson into an improvised search. A missing person is an emergency-services problem, not an opportunity to test new navigation.
Return to the Transferable Outdoor Skills hub and place the next short navigation session in the family practice plan. Capability grows from repeated known-location checks, not from increasing consequence.