
Good emergency lighting helps you see obstacles, keeps hands free, and makes important controls readable. It does not need to make every room bright. Build layers: find the first light, illuminate movement, then support tasks.
For an outage that is already underway, use this plan after the first outage actions have ruled out immediate danger. Its job is to make the next few hours workable without treating a bright room as a substitute for a household plan.
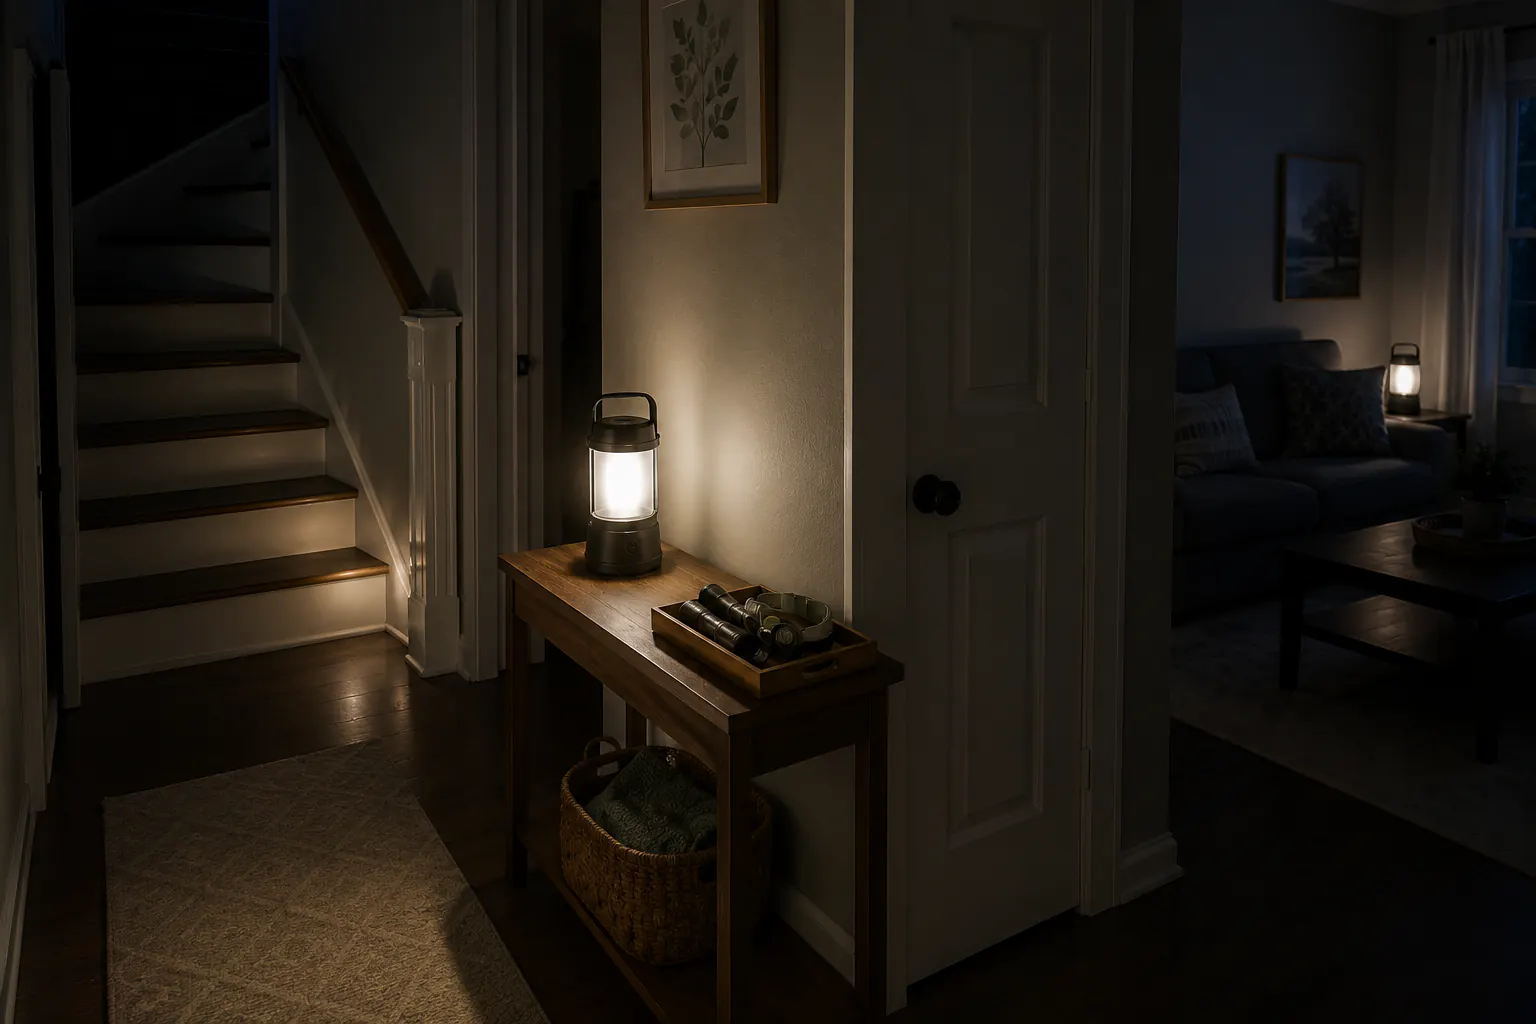
Put the first light within reach
Place a dependable flashlight beside each bed and at the normal household entry. It should be reachable in darkness without crossing a room. Keep the same location year-round and prevent it from becoming a general-purpose light that disappears into a drawer.
For children, choose an age-appropriate light they can operate and teach them to stay put or follow the family plan rather than wandering through a dark home.
Use the same placement every day. A flashlight that moves between the car, garage, toolbox, and kitchen is not an emergency light unless it has a documented replacement at each location.
Design three lighting layers
Find light
This is the light a person can reach without standing or crossing the room: bedside flashlight, headlamp, or an automatic battery light designed for outage use. Its job is orientation and safe access to the next layer.
Path light
Low, diffuse light marks stairs, halls, bathroom routes, exits, and changes in floor level. It should reveal obstacles without shining directly into eyes. Place it where it cannot be kicked, covered, or mistaken for a step.
Task light
A headlamp, directional lantern, or flashlight supports medication, food handling, equipment checks, reading, caregiving, and repairs. Task lighting should be bright only where needed so it preserves battery and night vision.
Match the light to the job
- Headlamp: ordinary hands-free tasks such as reading a label or carrying manageable supplies, where the fit and controls suit the wearer.
- Lantern: stable area lighting for a kitchen table, bathroom, or common room.
- Handheld flashlight: inspection, signaling household members, and identifying hazards at a distance.
- Low-output path light: halls, stairs, and bathroom routes where glare can hide obstacles.
For ordinary adult paper reading at a dry indoor table, a page-directed clip light is another format if holding a torch or wearing a headlamp does not suit that task. Keep an existing suitable light first. Check the intended support and page without creating damage or blocking anything; a reading clip does not provide path, clinical or repair-task approval.
Avoid placing a bright lantern directly at eye level. Bounce light from a pale wall or ceiling when possible. Preserve night vision with the lowest practical setting. Light does not authorize electrical work, entry into damaged areas, or changes to a person’s care plan. Follow the responsible professional, building, utility and emergency instructions; seeing a hazard more clearly does not make it safe to approach.
The research-based emergency lights comparison explains the different jobs, includes documented examples to compare, and keeps the conditions attached to output and runtime claims visible. It ranks no product and reports no hands-on lighting tests.
Size lighting runtime
Do not use the manufacturer’s maximum runtime without checking the brightness level attached to that claim. A light may run for a long time only after output becomes very low.
Create a simple plan:
number of lights × watts × hours per night × nights = watt-hours
For removable batteries, record the battery type and tested runtime at the intended setting. For USB lights, include their charging energy in the power station runtime plan.
Example: three 3-watt lanterns used four hours per night for three nights require 108 Wh before charging losses. Reducing one lantern to path duty or using a 1-watt setting can materially extend the plan.
Test runtime until the light reaches the minimum useful brightness, not merely until it turns off.
Prefer battery lights to flame
Ready.gov and CPSC guidance recommends flashlights or battery-operated candles instead of burning candles during outages. If a flame is used despite that safer option, never leave it unattended or near children, pets, bedding, curtains, fuel, or damaged areas.
The CPSC specifically recommends flashlights or battery-operated candles and warns never to leave a burning candle unattended. (Source: CPSC, 2026 winter storm and power outage safety warning.)
Glow sticks can provide low-level marking but create waste, cannot be switched off, and vary in brightness and shelf life. Phone flashlights are useful for immediate orientation but consume communication battery and are awkward for continuous area lighting.
Standardize batteries and charging
Choose a small number of battery formats so spares can move between devices. Store batteries according to manufacturer instructions, inspect for leakage, and rotate rechargeable cells through normal use. A power bank with a built-in light is still primarily a phone reserve; do not drain communication power casually.
Keep a suitable flashlight you already own. Fenix E12 V3.0 is a single-AA alternative to compare when that spare-cell format fits your household: its tail switch selects three levels and remembers the last setting, which may restart bright. This example uses one 1.5 V alkaline AA, not a 3.7 V 14500 cell, and does not charge it. Follow the complete battery, heat and storage warnings; keep the light away from children, eyes and flammable materials, never hold it in your mouth, and do not open its sealed head. Use it only for ordinary dry handheld lighting here, not clinical, rescue or hazardous work. The linked retailer title also names a Lumentac organizer that is not itemized in the contents; no accessory or battery-storage suitability is promised.
View Fenix E12 V3.0 on Amazon(opens in a new tab)Label each rechargeable device with its connector and keep one charging kit together. Test runtime on low and medium settings rather than trusting an optimistic maximum.
Store loose batteries so terminals cannot contact metal objects. Do not mix old and new cells, chemistries, capacities, or charge states in a device unless the manufacturer explicitly permits it. Remove leaking or damaged batteries safely and follow local disposal guidance.
For rechargeable lights, record:
- connector and charging voltage;
- battery capacity if specified;
- charge time from the intended backup source;
- whether the light can operate while charging;
- low-battery behavior;
- self-discharge observed over the storage interval;
- date of the last full runtime test.
A practical room plan
| Location | Light | Reason |
|---|---|---|
| Each bed | handheld light or headlamp | Immediate orientation without walking in darkness |
| Hall and stairs | low-level lantern or path light | Safer movement without severe glare |
| Main room | adjustable lantern | Shared area, planning, radio, and meals |
| Utility area | headlamp plus flashlight | Hands-free task light and inspection beam |
| Go bag or vehicle | separate flashlight | Available if household lights stay at home |
Add locations specific to the home:
- electrical panel route, without encouraging unsafe panel work;
- water shutoff and leak-response route;
- medication and medical-equipment area;
- garage manual release and exterior exit;
- pet restraint and carrier location;
- apartment exit stairs and building meeting point.
Do not leave lights loose on stairs, rugs, beds, sofas, or papers. Keep escape routes clear. The U.S. Fire Administration recommends identifying two ways out of rooms where possible and keeping doors and windows used for escape unobstructed. (Source: U.S. Fire Administration, Home Fire Escape Plans.)
Account for vision, hearing, mobility, and cognition
- Use consistent contrast around stair edges and door hardware.
- Choose controls that can be located and operated by touch.
- Avoid rapid flashing around people who may be sensitive to it.
- Pair alarms with compatible visual or vibrating notification for people who cannot hear them.
- Place lights within reach of a wheelchair, bed, or mobility aid.
- Use one simple instruction for children or a person likely to become disoriented.
- Keep spare glasses and hearing-device batteries with the first light.
Brightness alone does not create accessibility. Glare, deep shadows, and unfamiliar placement can make movement harder.
Outdoor lighting without creating another risk
Use outdoor-rated equipment in wet locations and follow charging and temperature limits. Do not run indoor cords through a door or window where they can be crushed. Do not walk into storm damage, floodwater, or a suspected threat merely to activate a light.
Exterior lighting can support entry, evacuation, and deterrence, but preserve the household’s ability to see out. Aim lights at walking surfaces and entrances, not neighboring windows or roads. For the security-specific balance between visibility, privacy, and a usable exit, use the security lighting during an outage guide.
Any generator-powered lighting still requires the full generator carbon monoxide safety plan.
On an ordinary day, keep normal lighting available while each person locates and operates their first light. Check the route to the main room for stairs, cords, rugs, or doors that need attention. Walk only a route the participant can safely use; a seated walkthrough is enough when movement would add risk. Do not create darkness, disable building systems, or practise on an unsafe route.
Test and maintenance schedule
Monthly quick check
- Confirm every first light is in place and activates.
- Inspect batteries for leakage, swelling, damage, or low charge.
- Confirm the primary path is not blocked.
Twice-yearly drill
- Recheck the route and first-light location from each bedroom under ordinary safe lighting.
- Measure runtime at intended settings.
- Recharge or rotate cells and update labels.
- Confirm children and guests can identify the meeting area.
Before forecast severe weather
- Fully charge lights and backup batteries.
- Place headlamps where both hands may be needed.
- Stage one light by the refrigerator thermometer, water, and communication plan.
- Keep one communication battery separate from lighting use.
Return to the power outage preparedness hub and connect lighting responsibilities to the family communication plan.
Sources reviewed
- Ready.gov power outage hazard information sheet
- CPSC winter storm and outage safety warning
- Coleman: BatteryGuard 1000 LED lantern, model 2000033983
- Black Diamond: Spot 400 headlamp documentation
- Streamlight: MicroStream alkaline pocket-light documentation, model 66318
Sources reviewed July 13, 2026. Exact Amazon listings and manufacturer lighting documentation checked October 11, 2026 for model identity, power format, controls and intended lighting role. This was a documentary check, not a product test, recall certification, or guarantee of useful light in your home.
Mighty Bright’s current battery-powered NuFlex documentation, complete linked manual, care FAQ and chemical warning were checked October 13, 2026 against the Lavender 47818 US identity. Its three-step head button and three-AAA tray describe operation, not measured output or runtime. Product-page and other lifetime figures differ and are not adopted. The maker’s Lavender image filename references a rechargeable family; no exact-product photograph is used here, and that filename does not change the documented 47818 identity. Supplied instructions and their incident directions govern actual use.