
Before choosing a seal, check that the dry, intact door already opens, closes, latches, and unlocks normally for the people who use it. If it binds, is fire-rated or shared, has moisture damage, or serves an uncertain ventilation role, ask the responsible owner or qualified professional first. A smaller draft is not a success if escape becomes harder.
DOE distinguishes weatherstripping for moving components from caulk for stationary gaps. It also says the selected material should seal when the door is closed while allowing the opening to move freely. This guide stays within removable perimeter seals on an intact, dry, normally functioning household door. It does not teach door modification or rated-assembly work.
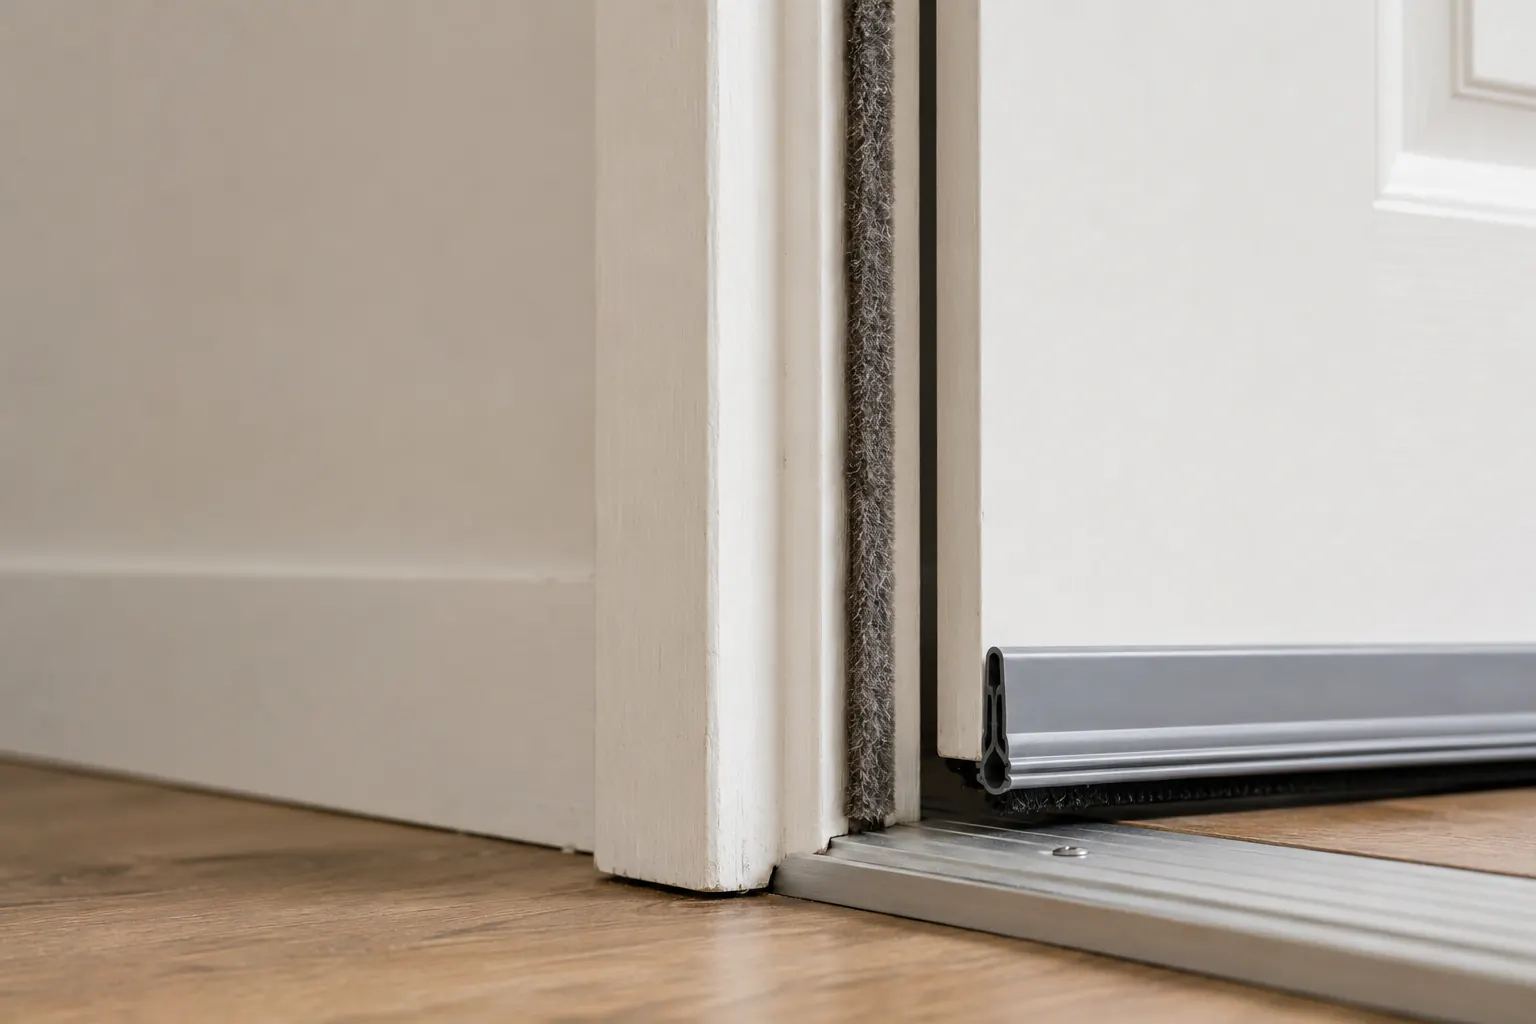
Exclude the door before selecting a seal
Do not weatherstrip the opening yourself when any of these applies:
- it is a corridor, stair, garage, utility, smoke-control, or identified fire-rated door;
- it has a closer, coordinator, panic hardware, magnetic hold-open, access-control system, or label you do not understand;
- the door drags, drops, twists, rebounds, will not latch, needs slamming, or unlocks inconsistently;
- the frame, wall, threshold, glass, hinge, lock, strike, or closer is loose or damaged;
- there is active water, swelling, rot, rust, staining, mold, soft material, or structural movement;
- a grille, undercut, transfer opening, louver, or gap may provide required ventilation or combustion air;
- changing it requires drilling, planing, cutting metal, removing trim, disturbing paint, or altering hardware;
- the lease, association, historic rule, warranty, or building procedure requires permission.
Report those conditions in writing and keep the door in its existing safe state. Weatherstripping cannot repair alignment, structure, drainage, flashing, security, fire rating, or mechanical ventilation.
Mark the door’s safety roles
Before measuring a gap, record whether the door is:
- the primary household exit;
- one of two planned ways out from a room;
- an accessible route for a wheelchair, walker, cane, stroller, service animal, or evacuation chair;
- a security boundary with a deadbolt, latch, alarm contact, or camera view;
- an exterior weather barrier exposed to wind-driven rain;
- adjacent to combustion equipment, a garage, a utility room, or an exhaust appliance;
- shared with a landlord, condominium, office, or common corridor.
USFA recommends that doors and windows in the fire escape plan remain unblocked. Treat normal operation by every intended user as a non-negotiable acceptance test, not an optional final check.
Document the existing operation
Use the room-by-room draft audit first. With the opening dry and free of hazards, record:
- The door’s normal opening and closing direction.
- Whether it stays controlled through its travel rather than falling or swinging unexpectedly.
- Whether the latch engages without lifting, pushing, pulling, or slamming.
- Whether the lock operates with the door closed using normal force.
- Whether the bottom clears the floor, rug, mat, and threshold.
- Where daylight or a draft symptom appears under naturally occurring weather.
- Existing seal type, location, compression, tears, gaps, paint, adhesive residue, or displacement.
- Indoor and outdoor moisture signs around the sill, jambs, head, and nearby wall.
Do not loosen hinges, move the strike, adjust a closer, remove a threshold, or force the opening to make a seal fit. If operation is not already reliable, stop and correct the door through the responsible qualified route.
Match the category to the moving joint
Weatherstripping works by making controlled contact between moving surfaces. More thickness is not automatically better.
| Location | Category to evaluate | Main failure to prevent |
|---|---|---|
| Latch and hinge jambs | Compressible bulb, tube, foam, or tension seal allowed for the door | Excess compression that prevents latching |
| Door head | Continuous compatible perimeter seal | Corner gaps or interference with closer and hardware |
| Bottom of in-swinging door | Interior-positioned sweep or manufacturer-approved bottom seal | Drag, trip edge, floor damage, blocked undercut |
| Threshold interface | Compatible adjustable gasket or existing-system replacement | Height that blocks mobility or changes drainage |
| Irregular historic opening | Property-approved specialist system | Drilling, finish damage, or loss of historic fabric |
| Rated or labeled assembly | Listed compatible component selected by responsible authority | Invalidating the assembly or obstructing closing |
DOE notes that products differ in friction, weather exposure, durability, visibility, moisture resistance, and installation complexity. Use the exact door and seal instructions. Do not infer compatibility from width, color, or an online category label.
Choose a conservative fit
For a permitted removable adhesive seal on an ordinary intact door:
- identify the flat contact surface the product instructions specify;
- measure the gap at several points without inserting a conductive or sharp object into hardware;
- choose the manufacturer’s range that compresses enough to contact without overfilling the gap;
- verify temperature, surface, paint, finish, moisture, UV, and indoor or outdoor limitations;
- check whether the adhesive is removable and test finish compatibility in an inconspicuous authorized area;
- keep the latch, lock, hinges, labels, closer, alarm contact, drain paths, and weep features completely clear;
- avoid combining layers unless the manufacturer explicitly permits the system.
Never use expanding foam, caulk, construction adhesive, tape, or improvised fabric in the moving clearance merely because it fills space. Never cover a strike opening, latch edge, deadbolt, hinge gap, closer arm, fire label, or threshold drain.
Prepare only an intact dry surface
Follow the product’s stated cleaning, drying, and temperature conditions. Stop if preparation would disturb old paint, unknown coating, crumbling material, mold, rot, corrosion, asbestos-containing material, or a contaminated surface.
EPA warns that renovation work in pre-1978 housing can create hazardous lead dust and that suspect asbestos should not be disturbed. A simple seal project is no longer simple if it requires scraping, sanding, drilling, cutting, or removing old material. Use the current lead, asbestos, property, and contractor requirements.
Do not mix cleaning products. Do not apply adhesive over dampness, visible growth, peeling finish, or a recurring stain. Correct the moisture source before covering the evidence.
Install in reversible stages
Use the current product instructions rather than a generic pressure or cure time. A conservative sequence is:
- Keep the exit usable and have another approved exit available during work.
- Apply a short authorized test section away from hardware.
- Close the door gently without latching and confirm there is no unexpected resistance.
- Latch and unlock the door using normal force.
- Remove the test immediately if the door rebounds, binds, needs pressure, or changes alignment.
- Continue one side at a time only when the test passes.
- Keep corners continuous without building up a thick overlap.
- Recheck operation after every side and after the adhesive reaches its instructed condition.
Do not leave an exterior or required exit door unable to latch while adhesive cures. Do not tape it shut, wedge it open, disable an alarm contact, or defeat a closer.
Test the exit with the real users
After installation, confirm from both sides where normal access permits:
- opening, closing, latching, locking, and unlocking;
- operation without lifting, shoulder pressure, repeated attempts, or slamming;
- threshold clearance for feet, footwear, mobility aids, and door mats;
- no loose edge that can catch clothing, a cane, wheel, paw, or small hand;
- no covered label, hardware, sensor, viewer, or drainage feature;
- no new whistle, vibration, condensation, water entry, or surface damage;
- no change to the household escape route.
Do not ask a child, older adult, or person with limited strength to discover excessive resistance during an emergency. Test during ordinary conditions with support present, then remove or correct the seal if use is not dependable.
Recheck after weather changes
Door materials and adhesive seals respond to temperature, humidity, rain, sun, and wear. Recheck after the first cold spell, hot period, heavy rain, and several weeks of use.
Remove the product and escalate when:
- the door becomes harder to close, latch, lock, unlock, or open;
- the seal migrates, curls, tears, freezes, absorbs water, or sheds material;
- condensation or staining appears behind or beside it;
- the frame or threshold moves, swells, cracks, or corrodes;
- a new security, accessibility, alarm, ventilation, or drainage problem appears.
Do not add another layer to compensate. The symptom may now be product wear, seasonal movement, drainage, structure, or an incorrectly selected category.
Coordinate security without trapping occupants
Weatherstripping and door hardening can compete for the same clearances. A thicker seal may change latch engagement; a new sweep can conflict with a threshold; a security bar can block escape; and a closer may no longer close a higher-resistance door.
Use the door and frame assessment for visual security planning, but leave hardware alignment, rated assemblies, access control, and structural correction to the responsible qualified professional. Security never justifies an exit that requires a key, tool, special knowledge, or excessive force where prohibited by current authority.
Compare performance honestly
A weatherstrip can reduce a local draft without proving whole-house energy savings. Record:
- exact product and installation date;
- door and location;
- observed before and after operation;
- weather conditions when the draft was noticed;
- any moisture or finish change;
- inspection and replacement interval.
Comfort improvement is useful, but it is not a leakage-rate measurement, code approval, or utility-savings calculation. The weatherproofing hub places this small task inside a full ventilation, moisture, and resilience plan.
Doors are one part of a building envelope. The weatherproofing kit comparison for renters and homeowners covers what a whole-home approach involves and which parts a lease allows.
Sources reviewed
- U.S. Department of Energy: Weatherstripping; Air Sealing Your Home; Detecting Air Leaks
- U.S. Fire Administration: Home Fire Escape Plans
- U.S. Environmental Protection Agency: Indoor Environmental Concerns During Remodeling
Sources reviewed July 14, 2026. Current door and product instructions, fire and accessibility authority, local code, property permission, and qualified door, building, HVAC, and environmental professionals control actual work.