
Choose one essential trip and ask the transport provider what happens if usual service stops. Confirm an accessible pickup, destination and backup. If stranded in danger now, call 911; a ride app or untested walking route is not emergency rescue.
Use the vehicle and transportation resilience hub to connect this network with household evacuation, communication, and any available vehicle plan.
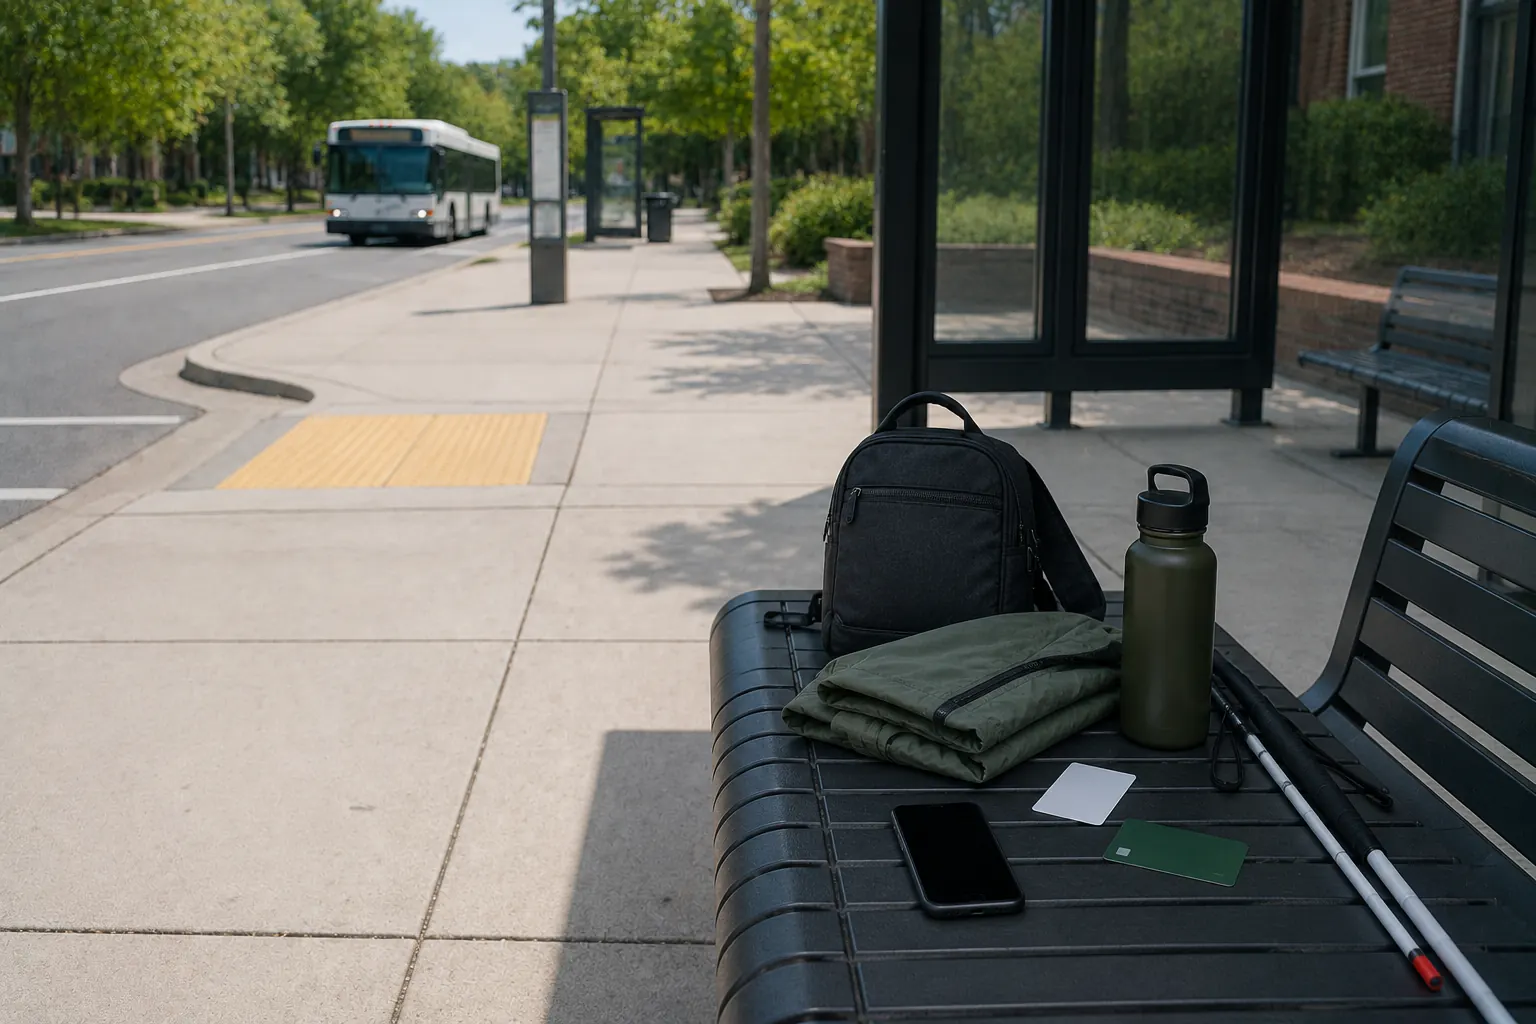
Ready.gov advises people without a car to arrange evacuation transportation with family, friends, or local government. Build those arrangements before a warning becomes an order.
If transportation has failed now
- Call 911 for immediate danger, injury, fire, rising water, violent threat, severe heat or cold illness, or a medically urgent failure.
- Follow shelter-in-place, evacuation, transit, school, building, and public-safety instructions.
- Contact the local emergency-management or designated transportation number published for the incident.
- Tell the household contact whether you are staying, moving, or waiting and set the next check-in.
- Do not begin an unsafe walk, enter a closed station, accept an unverified ride, or move toward home when authorities direct evacuation elsewhere.
Transit, paratransit, taxi, and rideshare services are not emergency rescue. Their availability can change quickly.
Inventory actual household mobility
For each person, record:
- usual travel modes and destinations;
- ability to walk or roll specific distances and grades;
- wheelchair, scooter, walker, cane, service animal, or transfer requirements;
- child-restraint needs;
- hearing, vision, communication, sensory, or cognitive support;
- medication, oxygen, refrigeration, or powered-device needs;
- whether a caregiver or personal attendant must travel too;
- a safe amount of wait time in heat, cold, smoke, rain, or crowds;
- luggage, pet carrier, medical equipment, and emergency-kit volume.
Do not describe a person simply as “mobile” or “not mobile.” A route that works in mild weather may fail in snow, smoke, extreme heat, darkness, elevator outage, or crowded evacuation conditions.
Build a transportation ladder
Choose options in a practical order:
| Layer | Example | Verify now |
|---|---|---|
| Official emergency transport | local evacuation bus, pickup point, special-needs program | registration, alerts, pickup rules, capacity, animals, equipment |
| Public transit | bus, rail, ferry | routes, outage alerts, fares, accessibility, operating hours |
| Paratransit or human-services transport | ADA complementary service, senior or disability program | eligibility, service area, reservation, emergency policy |
| Trusted ride network | family, neighbor, coworker, faith or community contact | vehicle, driver, keys, child seat, accessibility, backup driver |
| Commercial ride | accessible taxi or rideshare | account, payment, coverage, surge, verified pickup process |
| Active mode | walking, wheelchair, bicycle | route, weather, physical capacity, equipment, safe destination |
| Shelter where located | work, school, library, community site | permission, hours, supplies, accessibility, check-in |
No single option is guaranteed. Select at least two that do not depend on the same driver, app, rail line, bridge, or power source.
Register before the emergency
Some local evacuation assistance, disability registries, paratransit, senior transport, and medical transportation programs require advance eligibility or enrollment. Ask local emergency management and transit agencies:
- What service exists during evacuation or prolonged outage?
- Is advance registration required, and does it expire?
- Is the service door-to-door, curb-to-curb, or from pickup points?
- How are riders notified and reservations made?
- Can a companion or personal care attendant travel?
- Are wheelchairs, scooters, oxygen, service animals, pets, and medical equipment accepted?
- What luggage or kit is permitted?
- Where will riders be taken, and can that destination meet their needs?
- What happens if phones or power fail?
Registration is not a guarantee of immediate pickup. Keep the second layer active.
Understand paratransit limits
ADA complementary paratransit is designed as a comparable service for eligible people whose disability prevents use of the fixed-route system under defined conditions. Federal Transit Administration guidance explains that minimum service generally follows the fixed-route service area and operating times; local agencies may offer more.
That means paratransit should not be assumed to cover every location, every hour, or a regional evacuation. Eligibility can also be trip-specific. Confirm local rules, reservation windows, companions, visitors, fares, weather procedures, and emergency changes directly with the provider.
Practice ordinary trips after approval. Verify the exact pickup point, securement, boarding assistance, communication method, and backup when a stop or elevator is unavailable.
Choose accessible pickup and waiting places
A pickup point should be:
- outside flood, fire, traffic, debris, and downed-line hazards;
- reachable without an inaccessible curb, stair, locked gate, or unsafe crossing;
- visible to the driver without standing in the roadway;
- sheltered from weather when possible;
- large enough for wheelchair lifts, transfers, child loading, and service animals;
- near an occupied staffed place with an accessible toilet when available;
- described with a street address, entrance, and landmark.
Select a second point in case the first is closed. Do not wait in an underground garage during flood risk, on a bridge, beside a fuel queue, under damaged trees, or in a transit tunnel after closure.
Share pickup details privately with the rider, driver, and household contact.
Create a trusted ride agreement
Ask a primary and backup driver before the season, not during evacuation. Confirm:
- who initiates the ride and by what channels;
- pickup priority and earliest departure trigger;
- vehicle seats, child restraints, wheelchair or scooter capacity, and pet policy;
- whether the driver also has dependents or evacuation duties;
- fuel or charge threshold and destination;
- the second driver if the first is away, ill, or without a vehicle;
- reimbursement or cost expectations;
- how identity is verified if someone else arrives.
Do not overload a vehicle, ride unrestrained, place a child in an inappropriate seat, block an accessible exit, or carry fuel or loose heavy equipment in the passenger area.
The preventive vehicle checklist and vehicle kit guide should be shared with regular volunteer drivers.
Prepare payment and information backups
Keep modest, secure backups appropriate to local services:
- transit card and a second accepted fare method;
- small cash denominations where accepted;
- written transit, taxi, paratransit, emergency-management, and trusted-driver numbers;
- paper addresses and route notes;
- account access and charging method that does not depend on one phone;
- identification and eligibility information required for the service;
- a communication card for support needs.
Do not store full financial credentials, unnecessary medical records, or identity documents in an easily lost exterior pocket. Know how to freeze or replace a lost card.
Keep the travel kit movable
A car-free kit must fit the user and mode. Prioritize:
- water, familiar food, medication, and essential medical supplies;
- phone, charging cable, power bank, radio or alert method;
- weather layer, light, respirator where appropriate, and comfortable footwear;
- hygiene supplies and a small waste bag;
- child, infant, menstrual, incontinence, or sensory items;
- leash, harness, carrier, pet supplies, and identification;
- concise contact, destination, and support-needs information.
Use a backpack, rolling bag, wheelchair-mounted system, or divided load that does not destabilize a mobility device, block brakes, restrict transfers, or exceed the user’s ability. Keep hands available for rails, cane, walker, child, or service animal.
Do not attach bags where the mobility-equipment manufacturer prohibits them.
Make children and pets part of the reservation
An available seat is not automatically an appropriate child ride. Pre-position or arrange the correct child restraint with trusted drivers. Public transportation and emergency transport policies differ; follow the operator and law.
Ask whether pets are accepted, whether carriers are required, and whether the destination accepts them. Service animals are not pets, but the rider should still plan water, leash or harness, relief supplies, and identification.
Never separate a dependent traveler from medication, communication aids, mobility equipment, caregiver information, or the person authorized to receive them without the controlling agency’s process.
Decide when not to walk or cycle
Walking or cycling can provide local redundancy in ordinary conditions, but neither overrides:
- evacuation routes reserved for vehicles or responders;
- floodwater, wildfire, smoke, extreme heat, ice, lightning, or downed lines;
- controlled-access roads, tunnels, bridges, rail corridors, or closures;
- physical, medical, disability, age, or care limits;
- darkness or traffic conditions beyond the route and user’s ability.
Practice only on legal routes in normal weather. Record occupied rest locations and an abandonment point where the traveler calls for a ride or shelters rather than continuing.
Use the get-home plan to audit distance and route dependencies.
Practice the network twice a year
- Call each service and verify contact, eligibility, and emergency policy.
- Take an ordinary trip using the primary transit or paratransit method.
- Meet the trusted driver at the pickup point with the real mobility or child equipment.
- Send the check-in message and test the backup contact.
- Carry the travel kit for the expected distance.
- Confirm both destinations can receive every traveler and animal.
- Record any barrier, delay, inaccessible feature, or missing supply.
Do not simulate a disaster, block transit operations, create a false emergency, or test evacuation pickup during an active incident.
Sources reviewed
- Ready.gov: Evacuation; Preparedness for People With Disabilities; Commuter Emergency Plan
- Federal Transit Administration: ADA Transportation Services and Paratransit Service-Area Guidance
- FHWA: 511 Traveler Information
Sources reviewed July 14, 2026. Local emergency-management, transit, paratransit, school, shelter, disability-services, operator, and public-safety instructions control actual transportation and eligibility.