
Temporary flood barriers are one of the most searched-for flood products and one of the most oversold. They can turn a few inches of nuisance water away from a low door or a garage; they cannot hold back a real flood, and no barrier is a reason to stay in a building water is entering. This is a research-based comparison of barrier types by the job each does — not a hands-on ranking of specific products. It is one branch of the home flood-preparation hub.
Before any of this: if an evacuation or higher-ground instruction applies, follow it. NOAA’s guidance is blunt that most flood deaths happen in vehicles and that even shallow moving water is dangerous. A barrier protects property, never people — the flood watch vs. warning guide owns the leave-or-stay decision, and the complete flood preparedness guide covers the whole picture.
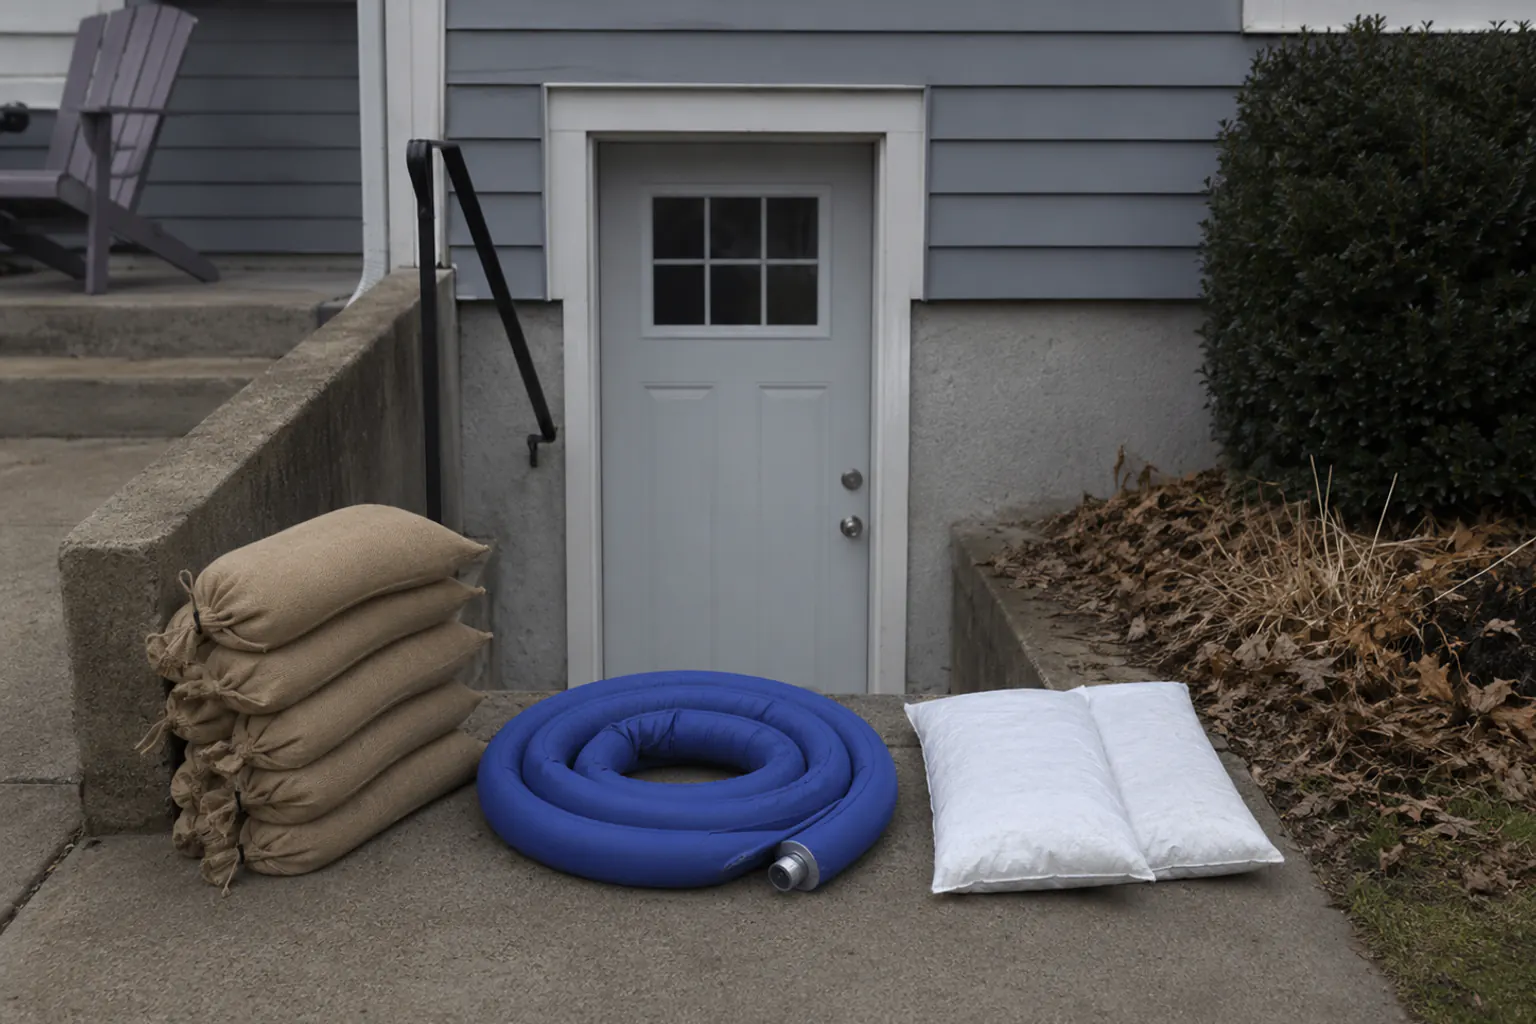
What temporary barriers can and cannot do
Set expectations before spending anything:
- They handle low, slow water. A few inches of sheet flow, a rising gutter overflow, or water creeping toward a garage or basement door is the realistic target.
- They do not stop deep or fast water. FEMA is clear that any dry-floodproofing measure has a practical height limit (roughly two to three feet against a sound wall) before water pressure threatens the wall itself. (Source: FEMA P-312, Homeowner’s Guide to Retrofitting.)
- They leak. Every temporary barrier seeps; pair one with a way to remove water behind it — see sump pumps and backup power.
- They take time and dry access to place. A barrier you cannot deploy safely before the water arrives is not protection; it is a hazard you are standing in.
The barrier types, by the job they do
| Barrier type | The job it does best | Main limits |
|---|---|---|
| Sandbags | Low, shaped barriers around doors, vents, and drains; conforming to uneven ground | Heavy, slow to fill, single-event, disposal after floodwater contact |
| Reusable water-filled barriers (tubes/bladders) | Longer straight runs of low water with less labor; storable and reusable | Need a water source and flat ground; bulky to store; still low-height |
| Absorbent flood bags (polymer) | Compact storage, fast activation for shallow indoor leaks and doorways | Very low height; activate on contact; single-use once swollen |
| Rigid door/vent panels & barriers | A specific opening (a doorway, garage, or vent) engineered to fit | Only fit their opening; cost more; still depend on a sound wall |
Most households that benefit at all benefit from protecting specific low openings, not from trying to wall off a whole building.
How to place any barrier so it actually helps
- Protect the openings water reaches first: low doors, garage thresholds, basement windows, dryer and utility vents, and floor drains.
- Seal to the ground and to itself. Gaps and unsealed seams are where the water goes. Sandbags are stacked and stamped like bricks; tube barriers need flat contact.
- Keep the safe exit clear. Never barricade the door you would leave through, and never place a barrier that traps you or blocks a fire escape.
- Assume contamination. Floodwater carries sewage and chemicals; the EPA treats flooded materials as contaminated. Sandbags that touched floodwater are discarded, not stored.
Buying temporary flood barriers
Where barriers fit in the bigger plan
Temporary barriers are the smallest, last layer. The larger protections — moving contents and records up, maintaining drainage, testing the sump, and knowing the evacuation deadline — live in the home flood-preparation hub, and the flood damage documentation guide owns what to do if water gets in anyway. Buy a barrier for a known low opening, keep it where you can reach it in the dark, and never let it change the decision to leave.
Sources reviewed
- Ready.gov: Floods
- FEMA P-312: Homeowner’s Guide to Retrofitting
- National Weather Service: Flood safety
- NOAA/NWS: Turn Around, Don’t Drown
Sources reviewed July 29, 2026. FEMA, NWS/NOAA, EPA, and local floodplain-management guidance control real floodproofing, safety, and evacuation decisions.