
Start with one tool after ordinary use, on a stable, well-lit surface. Check for damage or contamination before cleaning it. A cracked handle, loose head, slipping lock, recall, or unknown residue means stop use and get the appropriate service advice; cleaning does not fix those problems.
For a household, the safest care routine is conservative. Clean only as the materials and manufacturer allow, inspect before and after use, quarantine uncertainty, and send specialty or damaged tools to the correct service instead of improvising a repair.
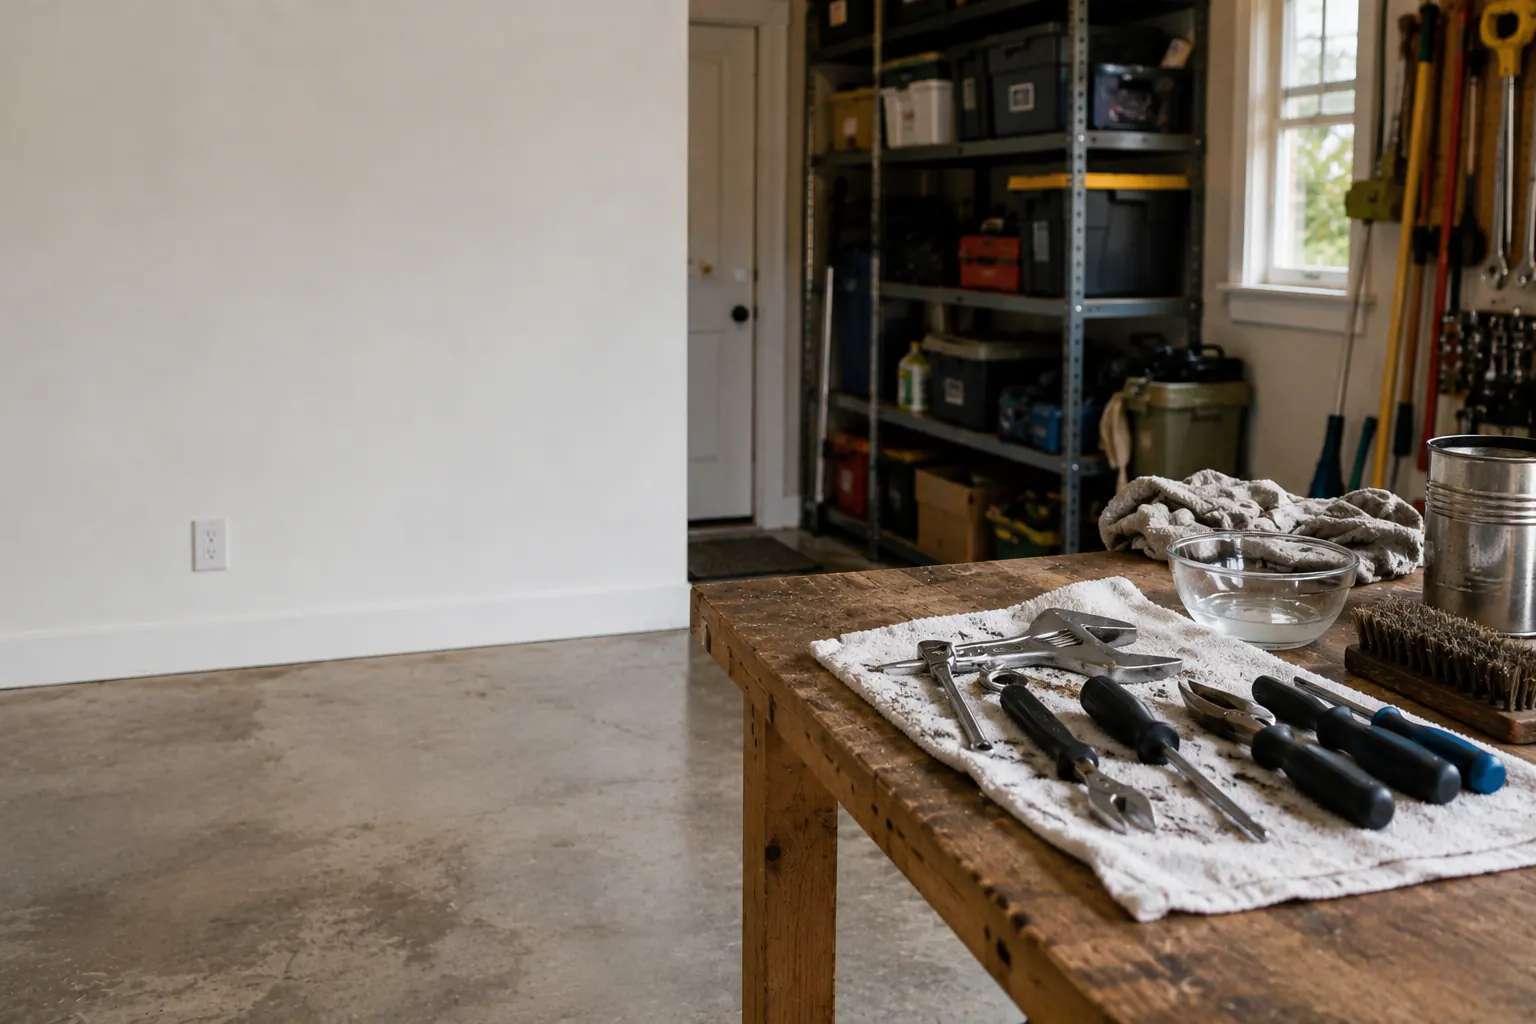
Keep tool care tied to actual condition
This is a conservative inspection cycle, not permission to repair a tool whose condition is uncertain.
Start with a known tool
Keep its job, basic condition, and storage location clear before it is needed.
Clean and inspect
After ordinary use, remove ordinary dirt as the material allows and look for visible damage or change.
Resolve uncertainty
Quarantine a damaged, recalled, contaminated, or uncertain tool instead of returning it to ready storage.
Stop and quarantine first
Do not clean and return a tool to service when it has:
- a cracked, bent, twisted, swollen, burned, or heavily corroded body;
- a loose, split, taped, or damaged handle;
- a mushroomed striking surface or chipped head;
- jaws, tips, teeth, sockets, or bits that no longer fit securely;
- a folding lock, pivot, ratchet, or adjustment that slips or binds;
- damaged insulation, rating marks, guards, triggers, cords, plugs, batteries, or chargers;
- exposure to sewage, floodwater, fire residue, unknown chemicals, asbestos, lead, or biological contamination;
- an exact model under recall or safety warning.
Mark it “do not use,” isolate it from the ready kit, and record why. Do not tape over a structural defect, grind a mushroomed head, weld a tool, heat a bent part, coat damaged insulation, or substitute an unknown handle.
Prepare a controlled cleaning area
Use:
- stable table or bench at comfortable height;
- bright task lighting;
- clean dry cloths;
- soft brush appropriate to the finish;
- trays for parts only when disassembly is manufacturer-authorized;
- eye protection when brushing can release particles;
- gloves selected for the actual dirt or product, away from rotating equipment;
- original manufacturer care instructions;
- labeled quarantine container.
Keep children, pets, food, medication, and clean emergency supplies away. Preserve exits and floor paths. Do not use compressed air to blow unknown dust into the room or toward skin and eyes.
Set out only the clean, dry cloths and soft brushes the tool’s instructions permit. An existing tray may be enough. If those supplies repeatedly get scattered, an open handled carrier is another format, not a reason to add cleaners or mix clean and used materials.
The Rubbermaid Commercial FG315488BLA is one empty open carry caddy for keeping a few clean supplies visible at a stable work surface. It is not a closed storage case, chemical kit or leak-containment system. The maker’s unit and case-weight fields differ; no loaded fit or carrying limit is established here. Follow supplied care and keep chemicals, used cloths and contaminated tools separate.
View Rubbermaid caddy on Amazon(opens in a new tab)Sort by material and mechanism
Do not apply one cleaning product to every tool. Separate:
- bare or coated carbon steel;
- stainless or corrosion-resistant alloys;
- chrome-plated or other finished surfaces;
- wood, composite, rubber, and insulated handles;
- folding pivots and ratchets;
- measuring tools and levels;
- cutting edges and struck tools;
- battery and corded equipment, handled under their own manuals.
Solvents, acids, rust removers, abrasives, oils, and water can damage coatings, adhesives, seals, markings, plastics, wood, electronics, or insulation. Use only a product and method approved for the exact material and keep chemicals in original containers.
Run the clean-dry-inspect sequence
1. Remove loose ordinary dirt
Wipe with a dry cloth and use a soft brush in accessible areas. Keep fingers away from edges and pinch points. Do not unfold or tension a mechanism unnecessarily.
2. Use minimal approved moisture
If the manufacturer allows a damp method, apply it to the cloth rather than flooding the tool. Avoid soaking joints, wooden handles, ratchets, levels, electrical parts, insulated tools, and hidden cavities. Never immerse a tool unless the exact manufacturer instructions say to do so.
3. Dry immediately
Use clean cloths and ordinary ventilation. Do not use an oven, open flame, space heater, heat gun, or uncontrolled compressed air. Heat can damage temper, coatings, adhesives, seals, handles, and batteries.
4. Inspect under light
Look and feel carefully for:
- cracks, chips, bends, swelling, pitting, and corrosion;
- loose heads, scales, grips, pins, rivets, and fasteners;
- rounded driver tips or socket corners;
- jaw misalignment and damaged teeth;
- incomplete blade closure or lock engagement;
- damaged markings and lost size identity;
- sticky ratchets or adjusters;
- sharp burrs in unintended locations;
- contamination that remains after approved cleaning.
Do not run a bare finger along a cutting edge. Use visual inspection and a safe sacrificial material only under the tool’s normal instructions.
Inspect common tool groups
Drivers and bits
Check that the tip is symmetric, not rounded, chipped, twisted, or worn. Confirm the bit locks into its holder and the handle is secure. Retire a bit that no longer fills the fastener recess. A worn bit encourages extra pressure and slippage.
Pliers and cutters
Check jaw alignment, teeth, pivot, handle covering, cutter edges, and opening motion. Do not cut material beyond the tool rating to “test” it. Never rely on ordinary handle covering as electrical insulation.
Wrenches, sockets, and ratchets
Check jaw faces, adjustment, socket corners, drive square, detent, ratchet direction, and handle. A spread wrench or rounded socket can slip. Do not extend the handle with a pipe unless the exact system is designed for it.
Hammers and struck tools
Check head attachment, handle grain or composite condition, striking face, claws, and wedges. Mushroomed, chipped, cracked, or loose tools require retirement or manufacturer/qualified service. Grinding can alter geometry and heat treatment.
Knives and scissors
Check blade retention, hinge, lock, sheath, closing action, and edge damage. Replace disposable blades through the tool’s documented process and place used blades in a rigid approved container. Sharpen reusable edges only with the correct method and skill; otherwise use a qualified service.
Measuring tools
Inspect tape hook, blade, case, return, markings, level vials, edges, and moving locks. Compare a measurement tool against a trusted reference when accuracy matters, but do not claim calibration without an appropriate process.
Lubricate sparingly and specifically
Use only the lubricant and location named by the manufacturer. More oil can attract abrasive dirt, migrate onto grips and work surfaces, contaminate finishes, or create a slip. Do not spray an aerosol into a closed box or near ignition sources.
After application, operate the mechanism only as directed and remove excess. Keep oily cloths and products under their fire, ventilation, storage, and disposal instructions. Do not mix products or transfer them to unlabeled containers.
Address light corrosion without hiding damage
First identify whether the change is surface discoloration, active rust, pitting, coating failure, or contamination. Photograph and mark the area. Follow the manufacturer’s approved corrosion method for that material.
Stop when corrosion affects a jaw, socket, cutting edge, striking face, pivot, fastener, rating mark, or insulated surface. Removing rust also removes material and may conceal pitting. A cleaned surface is not proof of restored strength.
Tools exposed to saltwater or floodwater need elevated review because contamination can enter joints and attack hidden surfaces. Do not return them to the emergency kit based on appearance alone.
Keep battery tools separate
For cordless tools, remove the battery before inspection or storage when the manual directs. Check tool, pack, charger, contacts, vents, latches, cord, and case without opening them.
Stop for:
- swelling, cracking, impact, heat, odor, smoke, liquid, or corrosion;
- damaged contacts or latch;
- charger error, melted housing, frayed cord, or loose plug;
- battery that will not seat or release normally;
- repeated unexpected shutdown;
- recall or manufacturer warning.
Do not open, puncture, compress, rebuild, freeze, heat, or “jump” a battery pack. EPA says lithium-ion batteries should not enter household trash or curbside recycling; follow manufacturer and local hazardous-waste guidance, with special instructions for recalled packs.
Record maintenance and retirement
If a tool needs service or retirement, a short private note can keep it from returning to the ready kit by mistake. These are examples, not completed inspections:
| Tool | Model or size | Observation | Action | Date | Return-to-service authority |
|---|---|---|---|---|---|
| driver | exact size | rounded tip | replace | date | household after fit check |
| hammer | model | loose head | quarantine | date | manufacturer/qualified service |
| multi-tool | exact model | lock inconsistent | stop use | date | manufacturer |
| drill pack | exact model/date | recall match | follow remedy | date | CPSC/manufacturer |
Keep a readable date and status cue with the separate service-record container, backed by the full note. Use paper you already have if it stays readable. A strung tag is an alternative marking format, not a lockout device, access control or permission to return a tool to service.
Avery 6732 is one pack of 100 small handwritten cardstock tags with attached string, which may be more than a household needs. Follow the supplied instructions and lead, cancer and reproductive-harm warning. Keep string and loose pieces controlled; do not attach them to triggers, guards, moving parts or cutting edges. No retention, weather protection or legibility result is established, and the full note and independently controlled storage remain necessary.
View Avery 6732 on Amazon(opens in a new tab)Do not donate or sell a tool that is recalled, damaged, or unsafe. Disable and dispose only according to the manufacturer, recall remedy, and local waste authority.
Finish with safe storage
Return only clean, dry, inspected tools. Give edges, points, heavy tools, batteries, and small parts dedicated locations. Keep the box dry and secured from children without blocking emergency access or exits.
Use the safe tool storage guide, annual inspection checklist, and essential toolkit hub to make maintenance part of readiness.
Sources reviewed
- OSHA: Hand and Power Tools; General Requirements for Tool Condition and Guarding
- NIOSH: Portable Hand and Power Tools Self-Inspection Checklist
- U.S. Consumer Product Safety Commission: Recalls
- U.S. EPA: Used Household Batteries
Sources reviewed July 14, 2026. Exact manufacturer cleaning, lubrication, sharpening, service, recall, and disposal instructions control the tool. This guide does not certify a repaired or contaminated tool.
Avery’s 6732 documentation, Rubbermaid Commercial’s FG315488BLA specifications and their exact US identities were checked October 13, 2026 for ordinary record marking and clean-supply carrying. Neither is a cleaner, lubricant, quarantine system or repaired-tool approval. The tag listing carries a lead warning; the caddy’s unit/case weight descriptions are not a measured carrying limit. No specific wash or disinfectant recipe is established for either accessory.