
A room-by-room inventory sounds like a project for a quiet weekend and a perfect spreadsheet. In practice, it works better as a series of short ordinary passes. The goal is not to count every object or put a precise price beside it. The goal is to leave the household with a truthful map of major property, identification details, and controlled supporting records before an event makes memory unreliable.
Start where the household would have the most trouble reconstructing the room: a kitchen with appliances, a home office, a tool area, a bedroom with everyday equipment, a storage closet, or a renter’s main living space. Finish that one zone, then come back another day. The method serves the larger home inventory and insurance recovery plan, which explains why the record matters and who eventually uses it.
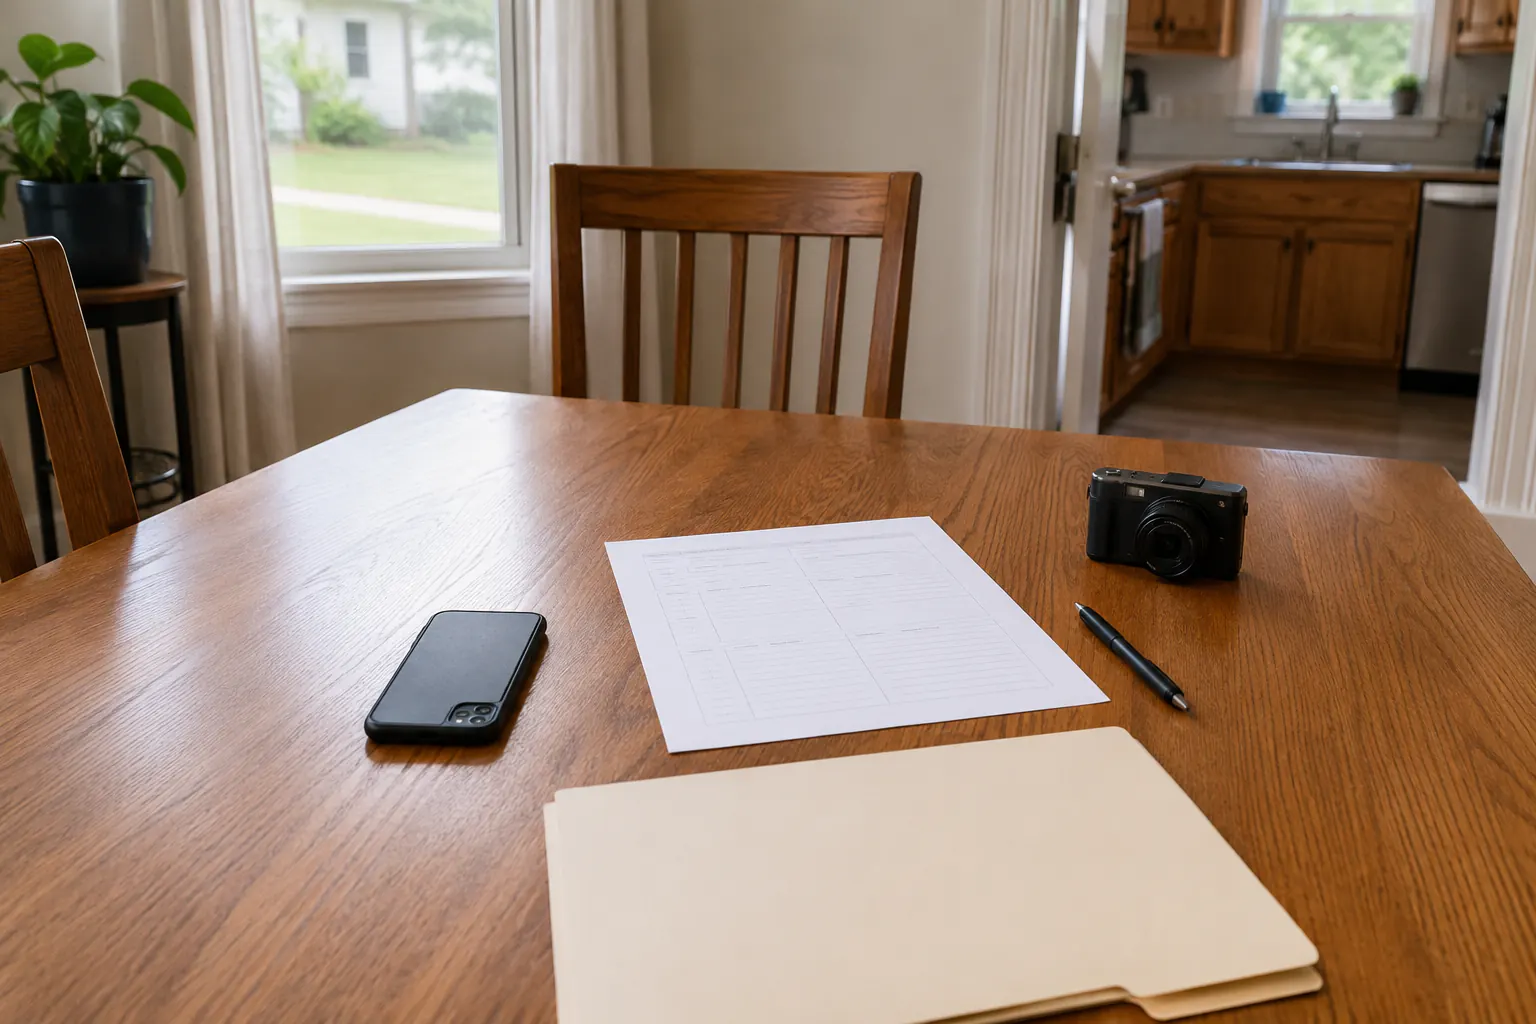
Set a narrow first session
Choose a time limit of 15 to 30 minutes and one room boundary. Bring a charged phone or camera, a notebook or local record, and a way to label photos later. Do not move heavy furniture, climb, open electrical equipment, enter a crawlspace, or expose private records to make the inventory more complete.
For the first pass, capture only:
- the room name and date;
- a wide view from the doorway and one or two opposite angles;
- major furniture, appliances, electronics, tools, or grouped property;
- visible labels for a few important items when they can be read safely;
- a short description of property that belongs to another person or organization; and
- a controlled clue to any receipt, manual, registration, appraisal, or prior record.
The rest can wait. An incomplete record that is organized is easier to improve than a chaotic record that tries to prove everything at once.
Work from room context to item detail
Use the same small sequence in each area:
- Name the space. Use a practical name such as “north bedroom,” “hall closet,” “kitchen,” or “home office,” not a public address.
- Capture the overview. Take a few ordinary, well-lit views that show the room and its major groups.
- List major property. Write a plain category and key identifier where visible: refrigerator, desk computer, sewing machine, tool chest, mobility equipment, television, camera, or large furniture set.
- Mark ownership category. Note household, renter, landlord/building, work/school, borrowed, or shared property without deciding legal ownership.
- Add evidence clues. Note where a receipt, manual, serial-number photo, warranty, or registration is kept. Do not copy passwords or full financial data into the room list.
- Set the next review. A move, purchase, renovation, new job equipment, major repair, or annual household record review can trigger the next pass.
This sequence produces a record that another household member can understand. It does not produce a valuation or a coverage decision.
Group ordinary low-value items honestly
Some rooms contain many similar objects: books, dishes, linens, small hand tools, pantry containers, children’s items, cables, and basic clothing. A household does not need to create a separate line for every object to make a useful record.
Group similar items by location and type when that is truthful: “kitchen cabinet dinnerware set,” “hall closet winter bedding,” or “garage hand-tool drawer.” Photograph the group in its normal place. If a particular item has a visible serial number, registration, unusual condition, or controlled supporting record, give that item its own line.
Do not use a group label to hide an item that belongs to an employer, roommate, landlord, lender, client, or another person. Mark the different ownership route clearly. That protects both the household record and the later conversation with the organization that controls it.
Capture identifiers only where they are safe to see
Model and serial labels can help distinguish an appliance, computer, tool, or other durable item. Photograph or transcribe them only when doing so is safe and ordinary. Do not pull a refrigerator from a wall, reach behind a hot appliance, open a powered panel, move a heavy tool, climb a ladder, or expose a private location just to find a label.
If the identifier cannot be reached safely, write “identifier not safely visible” and keep the room record moving. A later manual, purchase record, product registration, or manufacturer account may have a route to the detail. The receipt, serial, and replacement-detail guide in this family explains how to connect those sources without treating them as a claim outcome.
Separate the inventory from private access material
Keep a room inventory useful even if another person finds a printout. It should not expose an account login, cloud-storage password, full insurance policy number, alarm code, key location, identity document, tax record, or private medical information.
Use the household document and contact access map for controlled location clues and limited household roles. Use the digital security continuity plan for backup and credential recovery. The room inventory can say “protected records route” without explaining how to enter it.
Make a simple record table
| Room or area | Item or group | Identifying detail | Ownership category | Supporting-record clue | Last reviewed |
|---|---|---|---|---|---|
| Kitchen | Refrigerator | model label photo, if safely visible | household or landlord route noted | appliance records section | month/year |
| Home office | Desk computer | make/model and exterior photo | household or work route noted | protected records route | month/year |
| Hall closet | Winter bedding group | photo of grouped contents | household | no separate record needed | month/year |
Leave a field blank when it is unknown. An honest blank is better than a remembered detail stated as fact. Do not use the table to calculate replacement cost, depreciation, or coverage. Those are separate, potentially consequential questions.
Give each record a maintenance trigger
An inventory does not need a fixed annual ritual to stay useful. Connect each room to ordinary changes that already happen: a new appliance arrives, a laptop is replaced, a renter moves in or out, a renovation changes a cabinet, a tool is sold, a child starts using a new room, or employer equipment comes home. Take a fresh overview photo, update only the affected line, and keep the older original record if it clarifies the history.
This small habit also prevents a common trap: a household waits for a major disaster-season review, feels overwhelmed by the whole home, and postpones it again. One changed room is manageable. A collection of those small changes becomes a durable inventory without requiring anyone to value every item or make a coverage judgment.
Store a controlled copy and test recovery
Keep the original photos and record in a location that is not dependent on the same room, device, or building alone. A controlled paper copy, protected digital copy, or both may be appropriate depending on the household. The choice belongs to the record and security plans, not a generic article.
Test the route once: can the household find a non-sensitive room entry, identify the supporting-record location, and reach the correct institution or property manager without using a password in the inventory? If not, improve the map. The test is about recovery, not about giving another person authority over an account or claim.
Stop the pre-loss process when a real event begins
After a fire, flood, break-in, storm, leak, or other incident, the room inventory is historical context. Do not enter a restricted space or move hazardous material to compare it against the list. Follow official, utility, building, health, and property-owner instructions.
When it is safe, use how to document damage before cleanup begins for the live post-event record. Flood-specific claim evidence belongs in how to document flood damage for an insurance claim. The room-by-room method makes those later tasks less dependent on memory; it does not replace their safety, evidence, or claim boundaries.