
In calm conditions, identify local flood instructions, a designated higher-ground option and transport. If flooding threatens now, follow the complete warning and movement order immediately. Do not wait for water at the house or enter it to finish the plan.
Follow evacuation orders, Flash Flood Warnings, dam or levee instructions, and local emergency guidance. Do not delay because water has not reached the home.
Define three movement destinations
Immediate higher ground
Identify the closest safe location designated or supported by local planning when rapid flooding makes a distant trip unrealistic. It may be a higher road, sturdy building, upper area, or official assembly point, depending on the community and hazard.
Do not choose a riverbank, bridge, levee, parking structure, hill with landslide or debris-flow exposure, or private building that may be locked. Verify the location with local emergency information.
Primary evacuation destination
Choose a location outside the affected flood and evacuation area. Confirm address, access time, host or shelter status, pets, accessibility, medical-device power, water, sanitation, and length of stay.
Backup destination
The backup must not depend on the same bridge, causeway, underpass, low road, or drainage corridor as the first. Confirm it independently during the event.
Map routes by failure point
Print or download the designated route, then mark:
- low-water crossings and dips;
- underpasses and tunnels;
- bridges, causeways, and single-access roads;
- rivers, streams, channels, washes, and culverts;
- dam, levee, burn-scar, slope, and debris-flow concerns;
- underground garages and parking exits;
- official pickup points and shelters;
- the decision point where the route is abandoned before entering water.
Drive the route only in ordinary dry conditions. A route that worked in a previous flood can fail in a different event.
Use official road closure and transportation information during the event. A navigation app can lag closures or suggest a shortcut through a local low spot.
Set an early departure trigger
The official order always controls when issued. A household may need an earlier trigger because of:
- disability, mobility, communication, or medical needs;
- elevators or electronic access that can fail;
- no private vehicle or a scheduled pickup;
- animals or livestock;
- a long destination distance;
- one vulnerable road or bridge;
- overnight timing;
- a fast-rising stream or burn-scar forecast;
- the time required to load approved medical equipment.
Write the trigger as an observable event, not “when it looks bad.” Examples include a local watch plus a forecast threshold defined by authorities, a scheduled transport activation, or a specific official advisory for the zone.
The flood watch and warning guide explains the alert sequence.
Leave when instructed
- Confirm the complete official message.
- Account for people and animals.
- Confirm destination and designated route.
- Load medication, devices, mobility equipment, records, water, communication gear, and carryable bags.
- Send departure time and next check-in to the out-of-area contact.
- Leave without completing nonessential property work.
- Monitor route changes without entering closed or covered roads.
Do not return for a vehicle, package, photograph, pet item, or property task after the route becomes unsafe.
Never test floodwater with a vehicle
Do not drive around barricades or into water whose depth, speed, road surface, and electrical hazards are unknown. Water can hide a washed-out road, open manhole, debris, and current.
Vehicle height, weight, four-wheel drive, local familiarity, and watching another vehicle cross do not prove safety. Turn around before entering.
If the vehicle becomes trapped in rising water, call 911 and follow emergency instructions. The safest choice can depend on current, depth, surrounding terrain, and whether an exit leads into more dangerous water; a generic rule cannot assess the scene.
Plan without a vehicle
Before flood season, ask local emergency management about:
- evacuation buses or community pickup;
- accessible transport and paratransit activation;
- registration deadlines;
- pickup location and earliest reporting time;
- baggage, mobility-device, pet, and service-animal rules;
- missed-pickup procedure;
- shelter and return transport.
Arrange a named driver and backup when relying on family or neighbors. A rideshare service is not guaranteed during a flood because drivers, networks, roads, and pricing can change.
Keep the bag light enough to reach the pickup point. Test the route from the apartment without an elevator if that is safe and physically appropriate; otherwise arrange earlier assisted movement.
Apartment and high-rise movement
Flooding can disable elevators, underground garages, pumps, electronic locks, and lower-level utilities. Ask management which exits and upper areas are part of the official building plan.
Do not enter a below-grade garage to retrieve a vehicle after water approaches. Do not use an elevator when fire, flooding, outage, building management, or emergency authorities prohibit it.
Horizontal evacuation is preferred when ordered and safely possible. If flash flooding blocks exit and authorities direct vertical movement, use the location and level in the building plan. Avoid a closed attic or roof unless it becomes an emergency last resort and rescue guidance directs it.
Do not prop open fire doors or block stairs with supplies.
Medical, disability, and mobility continuity
Confirm transport, destination, approved battery runtime, medication storage, oxygen restrictions, communication support, and loading with the care team, device provider, facility, pharmacy, and local emergency resources.
Set an earlier movement trigger if stairs, transfer, loading, or destination setup takes time. Do not improvise lifting a person without training and suitable equipment.
Keep written device instructions, medication list, contacts, and required adapters with the person, not in a separate vehicle that may take another route.
Pets and service animals
Prepare carriers, leashes, identification, current photos, records, medication, food, water, cleanup supplies, and a verified destination. Practice loading in calm conditions.
Do not leave animals in a fenced yard, basement, balcony, or parked vehicle. Pet and service-animal access rules differ; confirm the actual destination policy and backup.
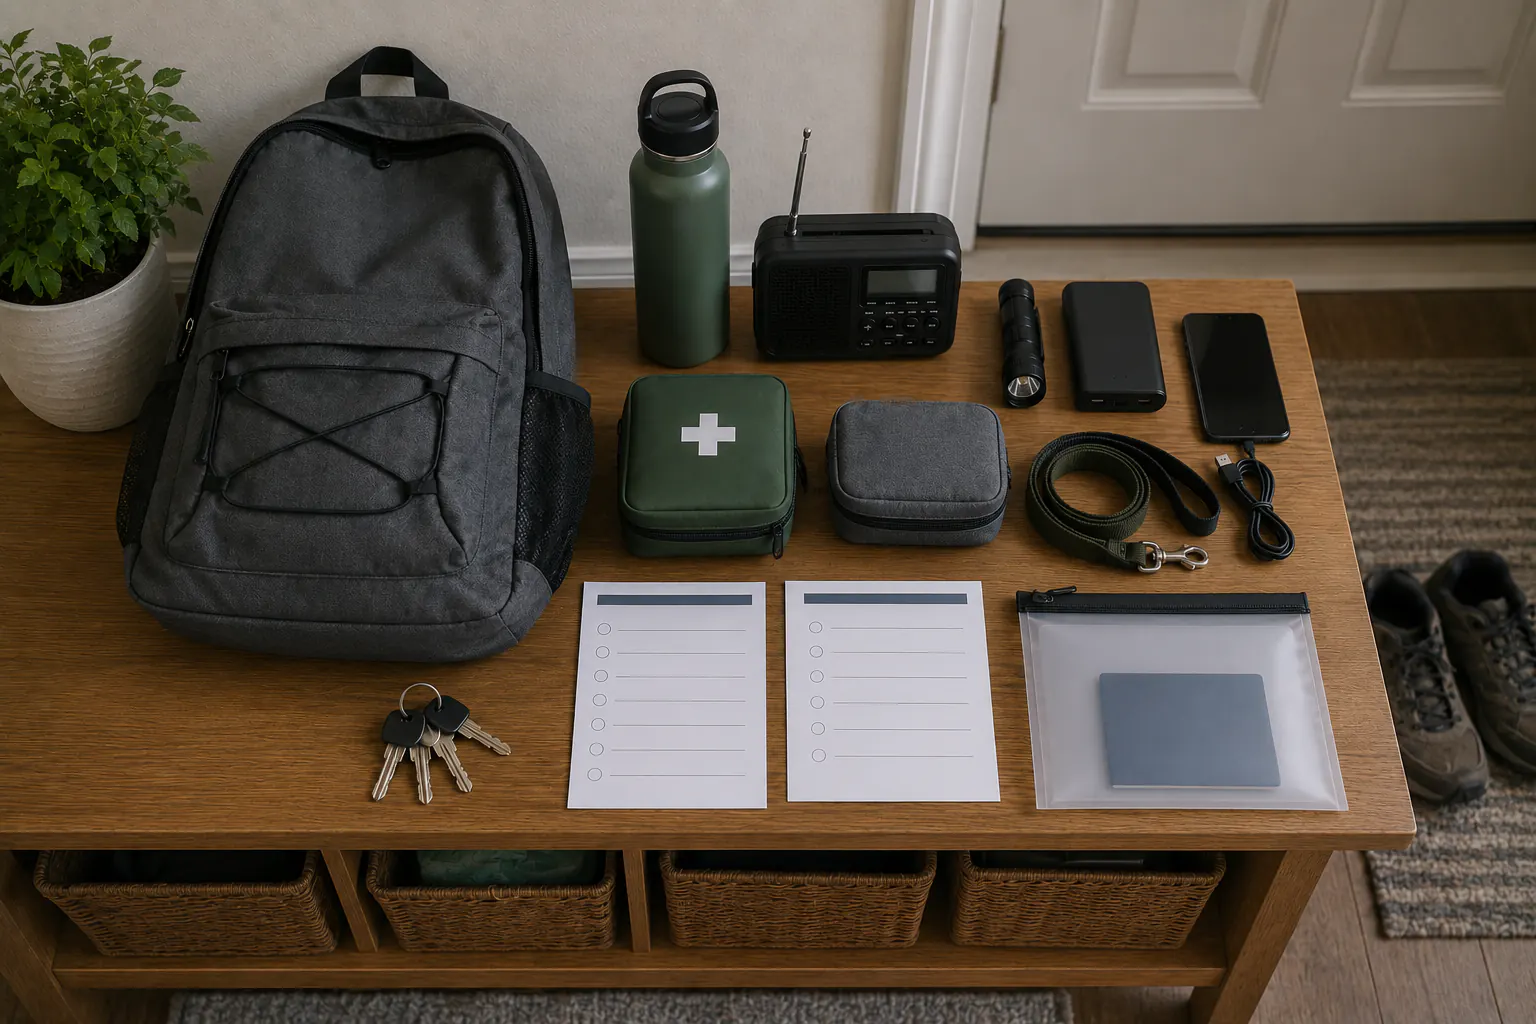
A flood-specific carry bag
Use the general hurricane evacuation bag framework, then add flood-specific needs without making the load uncarryable:
- paper higher-ground and backup routes;
- waterproof inner pouches for records and medication;
- sturdy closed-toe footwear and lightweight rain layer;
- battery lighting for an outage, not a flame;
- water and food suitable for travel;
- hygiene supplies that do not depend on tap water;
- a compact radio and charged power bank;
- gloves for ordinary travel handling, not permission to touch flood debris.
Waders, boots, and personal flotation devices do not make it safe to enter moving floodwater. Rescue PPE and techniques require trained responders.
Communication sequence
Assign one out-of-area contact and keep the number on paper. Send:
- people and animals accounted for;
- departure location and time;
- route and destination;
- transport or medical concern;
- next check-in.
Avoid publicly posting an empty home, exact route, shelter location, medication, or valuables. Use the family communication plan for missed-contact escalation.
When the normal route fails
Stop before the covered or closed section. Do not search side roads blindly.
- Move to a stable location outside the water path.
- Check official route updates.
- Contact the out-of-area person and local authority as appropriate.
- Use the preplanned backup route only if it remains officially open.
- If surrounded or threatened by rising water, call 911 and follow rescue instructions.
Do not park on a bridge, levee, drainage bank, or slope unless authorities direct it.
Return is not automatic
Wait for official re-entry authorization. A receded road can remain undermined or contaminated. Confirm route, utilities, water, medical access, and destination before travel.
Do not enter a property with obvious structural damage, downed lines, gas odor, fire, active flooding, sewage, or unknown chemical release. The flood preparedness hub provides the re-entry stop rules.
Run a dry-weather evacuation drill
- State the official and earlier household triggers.
- Pack and weigh the bags.
- Load medication, mobility equipment, and pet carriers.
- Time travel to the vehicle or pickup point.
- Identify every vulnerable crossing on both routes.
- Point to immediate higher ground.
- Send the test movement message.
- Record the slowest or least certain step.
Never drill in rain, near high water, on closed roads, or inside drainage infrastructure.
The flood evacuation plan works when the household leaves before the road becomes the hazard. Higher ground, routes, transport, and communication matter more than the number of items in the bag.
Sources reviewed
- Ready.gov: Floods
- National Weather Service: Flood Warning vs. Watch
- National Weather Service: Flood Related Products
- CDC: Returning Home After a Natural Disaster
Sources reviewed July 14, 2026.